Overview
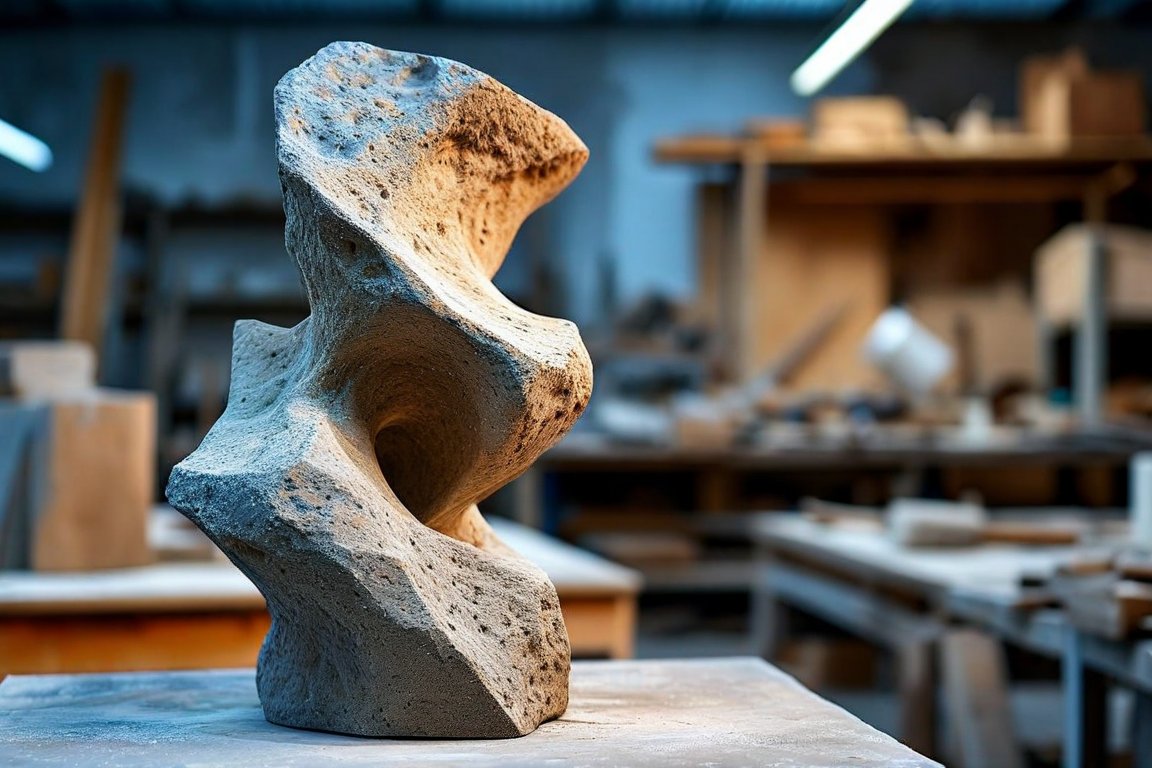
In this session, we will build a 30 cm (12-inch) abstract sculpture using household items. This project is a fantastic way to explore creativity with recycled materials, offering both a challenge and a rewarding outcome. Beginners often struggle with balance and adhesion, but with patience, you'll create a unique piece that reflects your personal style.
Materials
- Assorted recycled materials (e.g., plastic bottles, cardboard, metal scraps)
- Adhesive (hot glue gun or strong craft glue)
- Wire (about 1 meter or 3 feet)
- Acrylic paint (various colors)
- Paintbrushes (small to medium sizes)
- Pliers (for bending wire)
- Scissors or a craft knife
- Sandpaper (optional, for smoothing edges)
Time & Difficulty
- Total time: 3 hours
- Active time: 2 hours
- Curing/drying time: 1 hour
- Difficulty: Moderate
Step-by-Step
- Gather all your materials and clear a workspace. Line your table with old newspaper to protect it.
- Plan your sculpture by considering the shapes and sizes of your materials. Sketch a rough design if it helps.
- Cut and shape your materials using scissors or a craft knife. Be mindful of sharp edges.
- Use pliers to bend and twist the wire. This will provide structure and stability.
- Begin assembling your sculpture by gluing larger pieces together. Allow them to set before adding more.
- Incorporate wire to connect disparate parts or to add height and movement.
- Continue layering smaller pieces, experimenting with different orientations and angles.
- Apply paint to your sculpture once the adhesive has set. Use bold colors or subtle tones as desired.
- Let the sculpture dry completely for at least one hour.
- Touch up any areas with additional paint or adhesive as needed.
- Display your finished sculpture proudly in your chosen space.
Pro Tips
- Mix paint colors directly on the sculpture for a blended effect.
- Use wire strategically to create dynamic lines and support weak joints.
- Smooth rough edges with sandpaper for a more polished look.
Common Mistakes
- Using too much adhesive can make the sculpture unstable. Use minimal amounts and layer carefully.
- Not allowing enough drying time can cause pieces to shift. Be patient and let each layer dry thoroughly.
- Overloading one side can lead to imbalance. Distribute weight evenly to ensure stability.
Safety Notes
- Handle the craft knife and scissors with care to avoid injury.
- Use the hot glue gun cautiously to prevent burns.
- Work in a well-ventilated area when using adhesives and paints.
Cleanup & Storage
- Wipe paintbrushes and tools clean with warm, soapy water.
- Store leftover materials for future projects in labeled containers.
- Dispose of sharp or hazardous waste properly.
Next Exercises
- Create a themed sculpture using a single color palette.
- Experiment with kinetic elements by adding movable parts.
- Build a series of mini sculptures and arrange them as a cohesive installation.