Overview
In this project, we'll craft a simple clay sculpture using only hand tools. This activity is a delightful way to explore your creativity and develop basic sculpting skills. Beginners often find the drying process challenging, but patience and practice will lead to rewarding results.
Materials
- 500 grams (17.6 ounces) air-dry clay
- Small bowl of water for smoothing
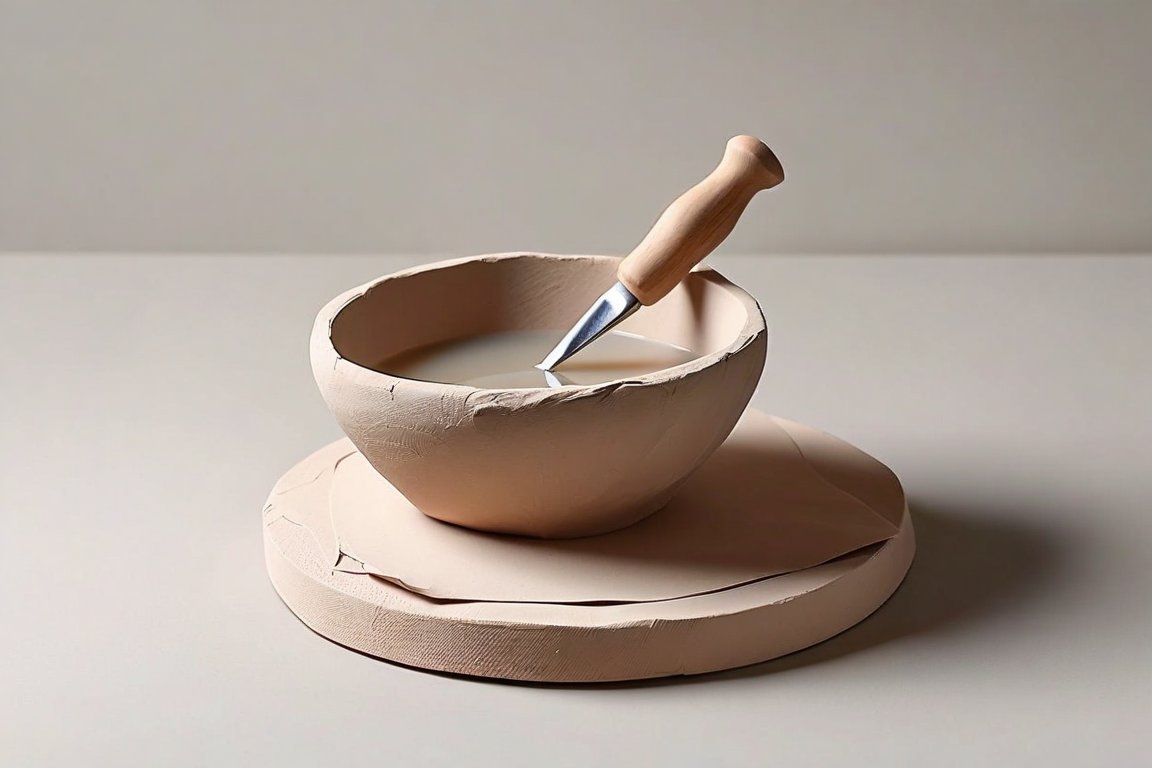
- Wooden or plastic sculpting tools
- Parchment paper or a non-stick mat
- Fine-grit sandpaper (optional)
- Acrylic paints (variety of colors)
- Paintbrushes (different sizes)
- Clear acrylic sealer (spray or brush-on)
Time & Difficulty
- Total time: 48 hours (including drying)
- Active time: 1.5 - 2 hours
- Curing/drying: 24-48 hours
- Difficulty: Beginner-friendly
Step-by-Step
- Prepare your workspace. Cover your table with parchment paper or a non-stick mat to prevent sticking.
- Condition the clay. Knead the air-dry clay until it's soft and pliable. This should take about 5 minutes.
- Shape the base. Roll a portion of the clay into a ball and flatten it slightly to create a stable base.
- Create basic shapes. Form simple shapes like cylinders, cubes, or spheres to build the structure of your sculpture.
- Attach pieces. Score the surfaces where pieces will join, apply a little water, and press them together firmly.
- Add details. Use your sculpting tools to carve textures and details into the clay, such as fur or scales.
- Smooth surfaces. Dip your fingers in water and gently smooth any rough areas for a polished look.
- Let it dry. Place your sculpture in a dry, well-ventilated area. Allow it to dry for at least 24-48 hours.
- Sand if needed. Once dry, use fine-grit sandpaper to smooth any uneven surfaces. This step is optional.
- Paint your sculpture. Use acrylic paints to bring your creation to life. Allow the paint to dry completely.
- Seal the paint. Apply a clear acrylic sealer to protect your sculpture and give it a finished look.
Pro Tips
- Keep your clay covered with a damp cloth when not in use to prevent it from drying out.
- Test your paint colors on a small clay piece before applying them to the sculpture.
- Use a toothbrush to add subtle texture to surfaces.
Common Mistakes
- Clay cracks during drying: Fix by applying a thin layer of fresh clay over the cracks and smoothing with water.
- Pieces not sticking: Ensure surfaces are scored and dampened before joining.
- Uneven drying: Turn your sculpture occasionally during drying to promote even curing.
Safety Notes
- Use tools safely to avoid injury; keep them away from children.
- Work in a well-ventilated area when using paints and sealers.
Cleanup & Storage
- Wipe tools clean with a damp cloth immediately after use.
- Store unused clay in an airtight container to keep it fresh.
- Wash paintbrushes thoroughly with soap and water after painting.
Next Exercises
- Create a small animal figurine using more complex shapes.
- Experiment with different textures using household items like forks or sponges.
- Try sculpting a simple bust to practice facial features.