Overview
Today, we'll craft a charming 30 cm (12-inch) garden sculpture using air-dry clay. This project is a delightful way to add a personal touch to your outdoor space and explore your creativity. Beginners often find it tricky to manage the drying time and achieve a smooth finish, but with patience and practice, you'll create a masterpiece.
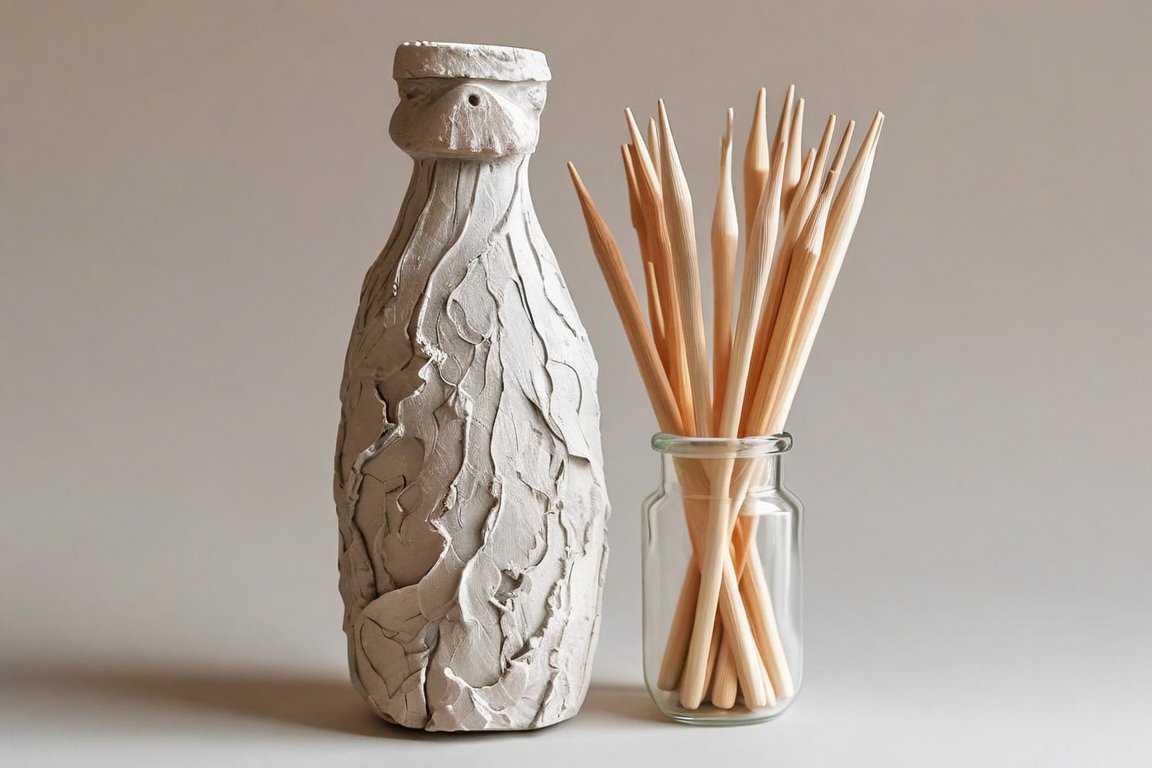
Materials
- 1 kg (2.2 lbs) of air-dry clay
- Sculpting tools (or butter knives and toothpicks as substitutes)
- Rolling pin (or a sturdy glass bottle)
- Water container
- Sandpaper (medium and fine grit)
- Acrylic paints (your choice of colors)
- Clear acrylic sealer (for outdoor protection)
- Old newspaper or plastic sheet (to protect your work surface)
Time & Difficulty
- Total time: 2-3 days (including drying)
- Active time: 1-2 hours
- Curing/drying: 24-48 hours
- Difficulty: Beginner-friendly
Step-by-Step
- Prepare your workspace. Lay down newspaper or a plastic sheet to protect your table.
- Condition the clay. Knead the air-dry clay until it's soft and pliable.
- Roll out the clay. Use a rolling pin to flatten the clay to about 1 cm (0.4 inches) thick.
- Cut basic shapes. Use sculpting tools or a knife to cut out the main parts of your sculpture.
- Assemble the pieces. Score and moisten the edges with water to join the pieces securely.
- Smooth the surface. Dip your fingers in water and gently smooth any rough areas.
- Add texture. Use tools or household items like forks or leaves to imprint patterns.
- Let it dry. Allow your sculpture to air dry for 24-48 hours, flipping occasionally for even drying.
- Sand the sculpture. Once dry, sand gently with medium grit followed by fine grit sandpaper for a smooth finish.
- Paint your creation. Use acrylic paints to add color and personality to your sculpture.
- Seal the sculpture. Apply a clear acrylic sealer to protect it from the elements.
Pro Tips
- Keep a damp cloth nearby to prevent the clay from drying out while you work.
- Use a toothpick for fine details and intricate textures.
- Mix acrylic paints for custom colors and a more personalized touch.
Common Mistakes
- Clay cracking: If your sculpture cracks, dampen the area with water and smooth it out.
- Uneven drying: Flip your sculpture periodically to ensure even drying.
- Paint flaking: Ensure the clay is completely dry before painting to prevent flaking.
Safety Notes
- Avoid inhaling clay dust; work in a well-ventilated area.
- Keep tools and small pieces out of reach of children and pets.
Cleanup & Storage
- Wipe tools with a damp cloth immediately after use.
- Store leftover clay in an airtight container to keep it from drying out.
Next Exercises
- Create a set of garden markers using the same techniques.
- Experiment with making a small clay birdbath.
- Try sculpting a decorative clay pot for your plants.
By Theo Northlake.