Overview
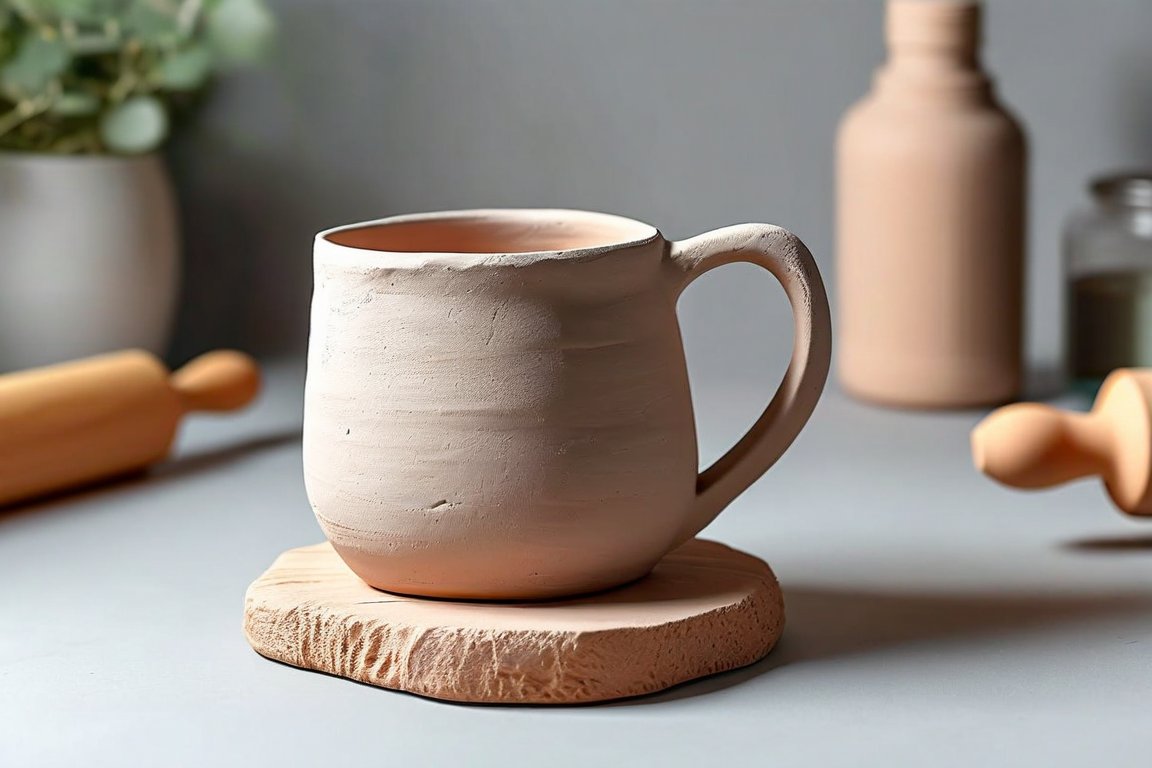
In this project, we’ll craft a simple clay mug using air-dry clay. It’s a fun and rewarding process that lets you create a functional piece of art. Beginners often slip up by not properly adhering the handle to the body, but don't worry—we'll guide you through each step!
Materials
- 500 grams (1.1 lbs) air-dry clay
- Rolling pin (or a smooth bottle)
- Clay knife or butter knife
- Scoring tool (or a fork)
- Small bowl of water
- Brush for slip application
- Acrylic paint (optional)
- Clay sealer (optional)
- Sandpaper (fine grit)
Time & Difficulty
- Total time: 3 days (including drying)
- Active time: 1-2 hours
- Curing/Drying: 48 hours
- Difficulty: Beginner
Step-by-Step
- Condition the clay by kneading it until it's smooth and pliable.
- Roll out the clay to about 0.6 cm (1/4 inch) thickness using a rolling pin.
- Cut a rectangle about 25 cm x 15 cm (10 in x 6 in) for the mug’s body.
- Form a cylinder by bringing the short edges of the rectangle together, overlapping slightly.
- Score the edges where they overlap using your scoring tool or fork.
- Apply slip (a mixture of clay and water) with a brush to the scored edges and press together.
- Cut a circle from the clay for the base, ensuring it fits snugly.
- Score and slip the bottom edge of the cylinder and the circle, then attach.
- Roll a clay coil for the handle, about 1 cm (1/2 inch) thick and 10 cm (4 inches) long.
- Score and slip the ends of the coil and the mug where the handle will attach, then press firmly.
- Allow the mug to dry thoroughly for 48 hours.
- Sand any rough edges gently with fine-grit sandpaper once dry.
- Paint and seal if desired, allowing each coat to dry completely.
Pro Tips
- Knead the clay well to avoid air bubbles which can crack the mug.
- Keep a damp cloth over unused clay to prevent it from drying out.
- Use a turntable to easily rotate the mug while working on it.
Common Mistakes
- Forgetting to score and slip can lead to pieces falling apart—always score and slip for strong joins.
- If the handle falls off, reattach with fresh slip and allow extra drying time.
- Cracks during drying can be filled with a bit of slip and sanded smooth once dry.
Safety Notes
- Air-dry clay dust can be irritating; work in a well-ventilated area and clean up dust promptly.
- Use non-toxic paints and sealers if you intend to use the mug for drinking.
Cleanup & Storage
- Wipe tools with a damp cloth before the clay hardens.
- Store leftover clay in an airtight bag to keep it from drying out.
- Wash hands thoroughly after working with clay and paints.
Next Exercises
- Try making a matching clay saucer for your mug.
- Experiment with adding textures or patterns to the mug before it dries.
- Create a set of mugs with different handle shapes for practice.
By Theo Northlake