Overview
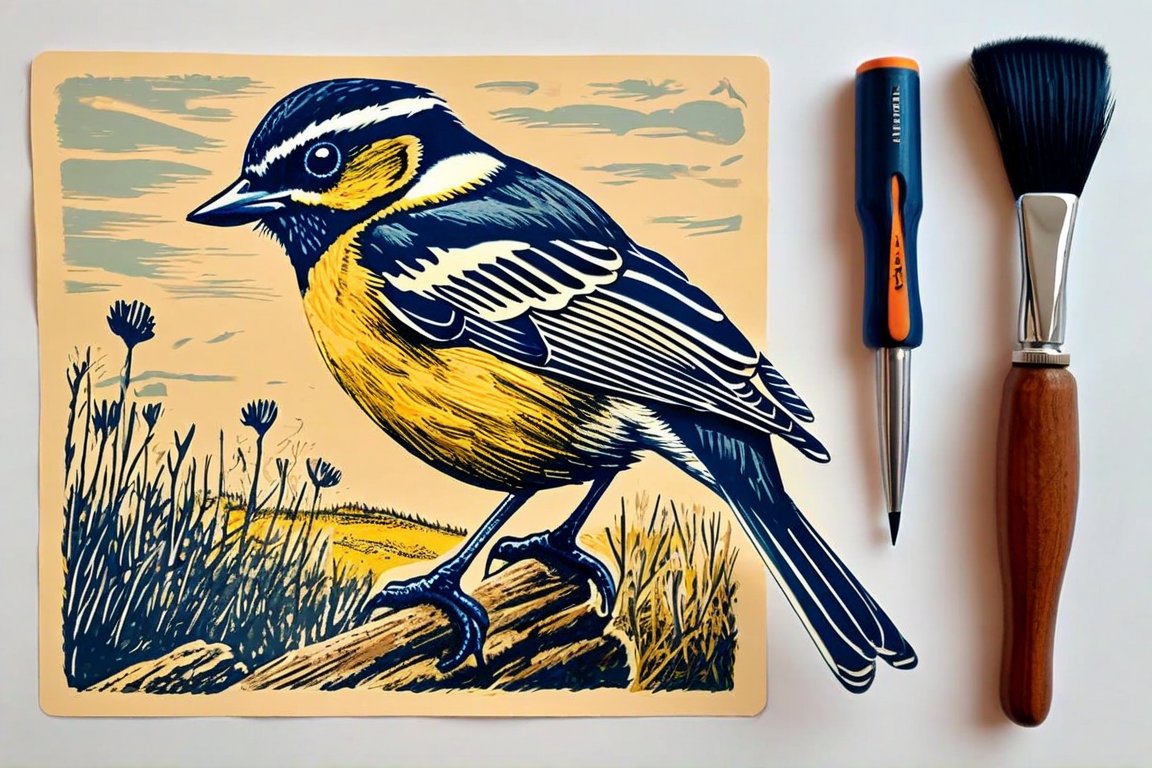
We're diving into the exciting world of linocut printmaking by creating a vibrant 3-color print on cardstock. This project is not only a fantastic way to express your creativity but also a fun introduction to printmaking for beginners. The key challenge here is aligning your colors, but don't worry—I'll guide you through it with ease.
Materials
- Linoleum block (15 cm x 15 cm / 6 in x 6 in)
- Carving tools (V-gouge and U-gouge)
- Water-based printing ink in three colors
- Brayer (roller) for inking
- Palette or smooth surface for rolling ink
- Cardstock (A4 or 8.5 in x 11 in)
- Pencil and tracing paper
- Baren or a clean spoon for pressing
- Masking tape
Time & Difficulty
- Total time: 2-3 hours
- Active time: 1.5 hours
- Drying time: 30 minutes between each color layer
- Difficulty: Beginner-friendly
Step-by-Step
- Sketch your design on tracing paper using a pencil. Keep it simple with bold shapes.
- Transfer the design to your linoleum block by flipping the tracing paper and rubbing the back with a spoon.
- Carve the areas you want to remain the color of the cardstock using your V-gouge.
- Roll a thin layer of your first ink color onto the palette using the brayer.
- Ink the linoleum block by rolling the brayer back and forth until evenly covered.
- Place the cardstock over the inked block, securing one edge with masking tape for alignment.
- Press the cardstock against the block with a baren or spoon, applying even pressure.
- Peel the cardstock carefully and let it dry for 30 minutes.
- Repeat the carving, inking, and printing process for the second and third colors, ensuring alignment each time.
- Clean the block and brayer thoroughly between colors to prevent unwanted mixing.
- Admire your work and let the final print dry completely.
Pro Tips
- Use a light touch when carving to avoid removing too much material.
- Test your inking on scrap paper before printing on cardstock.
- Align using the same edge of the cardstock and block each time for consistent registration.
Common Mistakes
- Ink too thick: Roll out a thinner layer on the palette to avoid smudges.
- Misalignment: Use masking tape effectively as a hinge to realign the cardstock.
- Uneven pressure: Ensure your baren or spoon covers the entire block surface.
Safety Notes
- Always carve away from your body to prevent injury.
- Keep carving tools sharp and handle them with care.
- Use water-based inks in a well-ventilated area.
Cleanup & Storage
- Clean tools and brayer with warm, soapy water immediately after use.
- Store linoleum blocks flat to prevent warping.
- Keep inks sealed tightly to prevent drying out.
Next Exercises
- Try a 2-color print with more intricate details.
- Experiment with different cardstock textures and colors.
- Create a larger print or a series of smaller prints for a themed collection.
By Rowan Mapleridge.