Overview
Today, we'll create a charming small clay sculpture using air-dry clay. This project is perfect for beginners looking to explore hand-building techniques without the need for a kiln. Working with clay is a tactile joy, allowing your creativity to manifest in three dimensions. Beginners often slip by not planning their design or rushing the drying process, so we'll focus on taking our time and enjoying each step.
Materials
- Air-dry clay: 500g (17.6 oz), white or colored
- Small sculpting tools: a set including a needle tool, loop tool, and smoothing tool
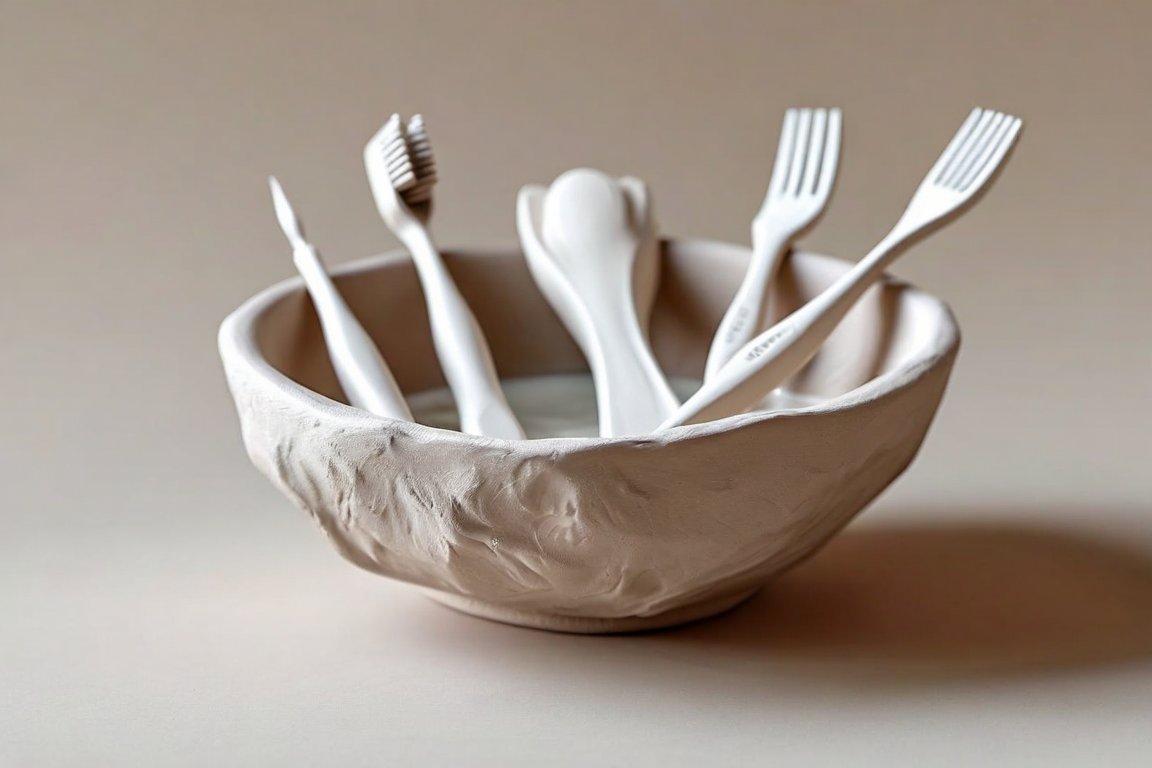
- Texturing tools: old toothbrush or fork
- Water: in a small bowl for smoothing edges
- Paints: acrylic or tempera, assorted colors
- Paintbrushes: small detail and medium flat
- Clear acrylic sealer: spray or brush-on
- Plastic wrap: to cover unused clay
- Old cloth or apron: to protect clothing
Time & Difficulty
- Total time: 2 hours
- Active time: 1 hour
- Curing/drying: 24-48 hours
- Difficulty: Easy
Step-by-Step
- Prepare your workspace. Lay down an old cloth or newspaper to protect your surface.
- Plan your design. Sketch a simple idea of what you want to sculpt, such as a small animal or abstract form.
- Condition the clay. Knead the clay for about 5 minutes until it’s soft and pliable.
- Shape the base form. Create a basic shape with your hands, like a ball or cylinder, as the foundation.
- Add details. Use sculpting tools to carve and refine the shape, adding features like eyes or textures.
- Smooth the surface. Dip your fingers in water and gently smooth any rough edges or seams.
- Texture the surface. Use a toothbrush or fork to add interesting patterns and textures.
- Let it dry. Place your sculpture in a dry, ventilated area and allow it to dry completely for 24-48 hours.
- Paint your sculpture. Once dry, apply acrylic or tempera paints to add color and depth.
- Seal your work. Use a clear acrylic sealer to protect the paint and give a finished look.
Pro Tips
- Use plastic wrap to keep unused clay from drying out while you work.
- Work in layers when painting, allowing each layer to dry before adding another.
- Experiment with different texturing tools for unique surface designs.
Common Mistakes
- Clay cracks during drying: Ensure it's not too thick and smooth seams with water.
- Uneven paint coverage: Use a primer layer, or paint in thin layers for better results.
- Sculpture collapses: Ensure the base is wide and stable; avoid overly thin parts.
Safety Notes
- Keep clay and tools away from small children to avoid choking hazards.
- Ensure good ventilation when using a clear acrylic sealer.
- Avoid ingesting or inhaling clay dust.
Cleanup & Storage
- Store leftover clay in an airtight container or wrapped in plastic wrap.
- Wash tools with warm soapy water immediately after use.
- Dispose of any clay scraps in the trash, not down the sink.
Next Exercises
- Create a series of small sculptures to practice consistency and refinement.
- Experiment with different textures and tools to expand your tactile vocabulary.
- Try sculpting a small scene or diorama incorporating multiple elements.