Overview
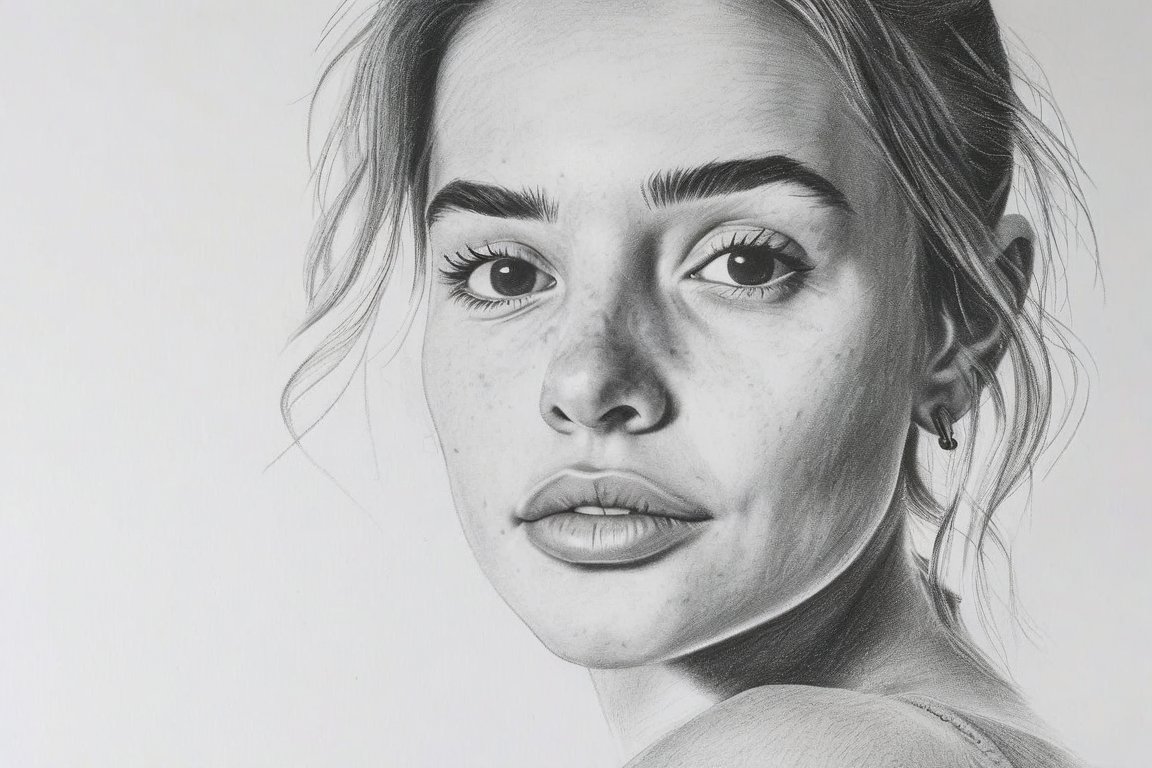
We're going to draw a realistic portrait using pencils, focusing on proportions, shading, and blending techniques. This is a fun way to capture someone's likeness and improve your drawing skills. Beginners often slip by rushing through the proportions, so take your time with the initial sketch.
Materials
- Graphite pencils: HB, 2B, 4B, and 6B
- Drawing paper (A4 or letter size)
- Eraser (kneadable is preferred)
- Blending stump or cotton swabs (for smooth shading)
- Ruler
- Reference photo (printed or on a screen)
- Masking tape (optional, to secure paper)
Time & Difficulty
- Total time: 3 hours
- Active time: 2.5 hours
- Curing/drying: Not applicable
- Difficulty: Intermediate
Step-by-Step
- Secure your paper with masking tape to prevent it from moving.
- Study your reference photo to understand the subject's proportions.
- Sketch the basic outline using an HB pencil, starting with the head's shape.
- Draw guidelines lightly for the eyes, nose, and mouth to ensure correct placement.
- Refine the features by adding details to the eyes, nose, and mouth using a 2B pencil.
- Shade the darker areas with a 4B pencil, focusing on the hair and shadows.
- Blend the shading with a stump or cotton swab to create smooth transitions.
- Build up depth by layering with a 6B pencil in the darkest areas.
- Highlight with an eraser to bring out lighter areas, such as the bridge of the nose and cheekbones.
- Check proportions and make adjustments as needed with a ruler for accuracy.
- Add final details like texture to the hair and fine lines around the eyes.
- Review your work from a distance to see the overall effect.
- Sign your artwork in the corner to mark it complete!
Pro Tips
- Use the side of your pencil for softer shading.
- Keep your reference photo at the same angle as your paper.
- Take breaks to rest your eyes, which helps see errors more clearly.
Common Mistakes
- Rushing the initial sketch; slow down and focus on accuracy.
- Over-blending; keep some texture to maintain realism.
- Ignoring proportions; use a ruler for precise measurements.
Safety Notes
- Keep pencils sharp but handle them carefully to avoid injury.
- Avoid inhaling graphite dust; work in a well-ventilated area.
Cleanup & Storage
- Store pencils in a case to prevent breakage.
- Keep your drawing flat to avoid smudging.
- Clean blending tools by gently rubbing them on scrap paper.
Next Exercises
- Draw a portrait with colored pencils to explore color blending.
- Try a self-portrait to challenge your perception skills.
- Practice quick 10-minute sketches to improve speed and accuracy.