Overview
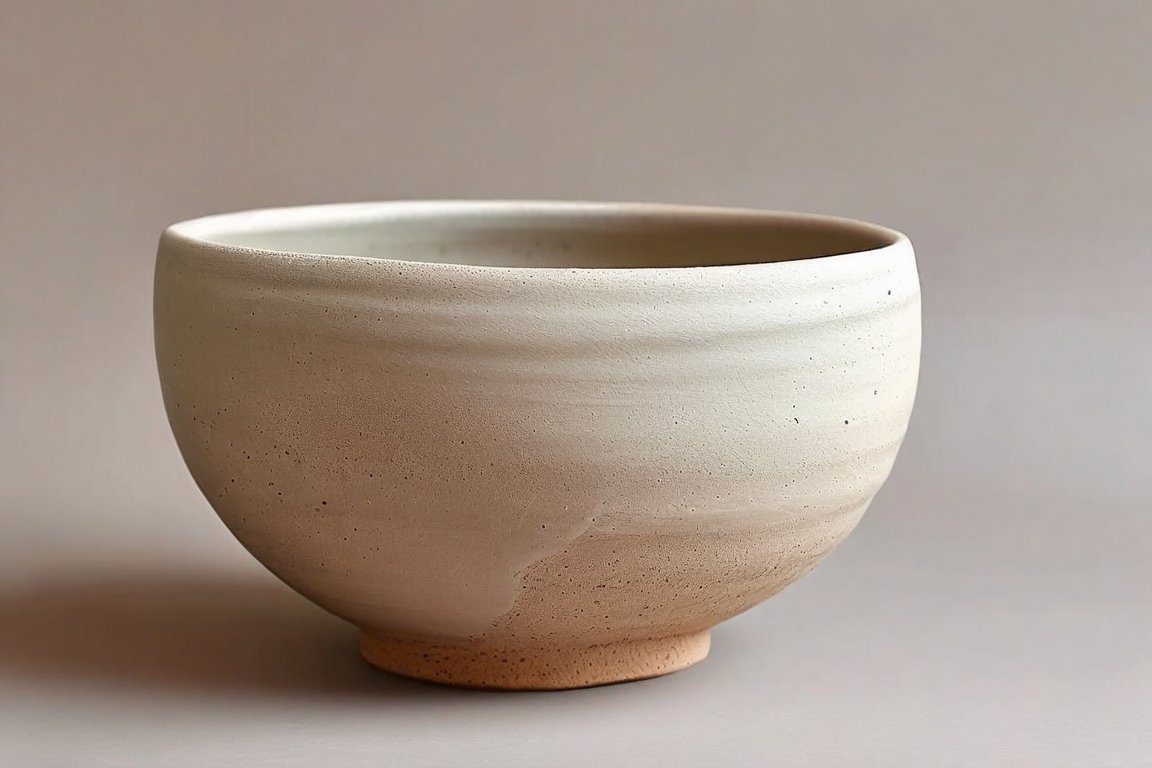
Welcome to the wonderful world of hand-building with clay! Today, we'll create a charming 6-inch (15 cm) bowl using the slab technique. This project is a delightful introduction to working with air-dry clay. Beginners often struggle with maintaining even thickness, but with patience and practice, you'll master it in no time.
Materials
- 500 grams (1 lb) of air-dry clay
- Rolling pin or cylindrical bottle
- Clay knife or butter knife
- Small bowl (6-inch/15 cm diameter) for shaping
- Scoring tool or fork
- Slip (a mixture of clay and water)
- Sponge and water
- Sandpaper (fine grit)
- Acrylic paints (optional)
- Clear acrylic sealer (optional)
Time & Difficulty
- Total Time: 90 minutes
- Active Time: 60 minutes
- Curing/Drying: 24-48 hours
- Difficulty: Beginner
Step-by-Step
- Prepare your workspace by covering it with newspaper or a plastic sheet to protect surfaces.
- Condition the clay by kneading it for about 5 minutes until it's pliable and smooth.
- Roll out the clay to a thickness of about 0.6 cm (1/4 inch) using your rolling pin.
- Cut a circle from the clay using the small bowl as a template. Carefully trace around it with your clay knife.
- Score the edges of the clay circle using a fork or scoring tool to help with attachment.
- Create the bowl's sides by cutting a strip of clay about 5 cm (2 inches) wide and long enough to wrap around the circle.
- Score the strip along one edge and apply slip to the scored areas.
- Attach the strip to the base, pressing gently but firmly to ensure a good bond.
- Smooth the seam with a damp sponge, blending the edges to make them seamless.
- Refine the shape by gently molding the bowl with your hands, ensuring even thickness throughout.
- Allow the bowl to dry for 24-48 hours in a cool, dry place away from direct sunlight.
- Sand the bowl with fine-grit sandpaper to smooth out any rough edges or surface imperfections.
- Paint and seal your bowl with acrylic paints and a clear sealer if desired, for added durability and flair.
Pro Tips
- Keep your clay covered with a damp cloth when not in use to prevent it from drying out.
- Use a small amount of water on your fingertips to smooth out any small cracks while shaping.
- Experiment with textures by pressing different materials (like lace or leaves) into the clay before it dries.
Common Mistakes
- Uneven thickness: Roll the clay evenly using guide sticks on either side of the rolling pin.
- Poor adhesion: Ensure all scored areas are well coated with slip before attaching pieces.
- Cracks during drying: Dry your bowl slowly, covering it with plastic if needed, to prevent rapid drying.
Safety Notes
- Work in a well-ventilated area when using paints and sealers to avoid inhaling fumes.
- Handle knives and cutting tools with care to prevent injury.
Cleanup & Storage
- Wipe tools with a damp cloth before the clay dries for easier cleaning.
- Store leftover clay in an airtight container to keep it fresh for future projects.
Next Exercises
- Create a matching set of small bowls using the same techniques.
- Experiment with adding handles to your bowls for a new challenge.
- Try making a larger serving platter using the slab technique.