Hand-Built Slab Vase: Cut, Score, and Join
Overview
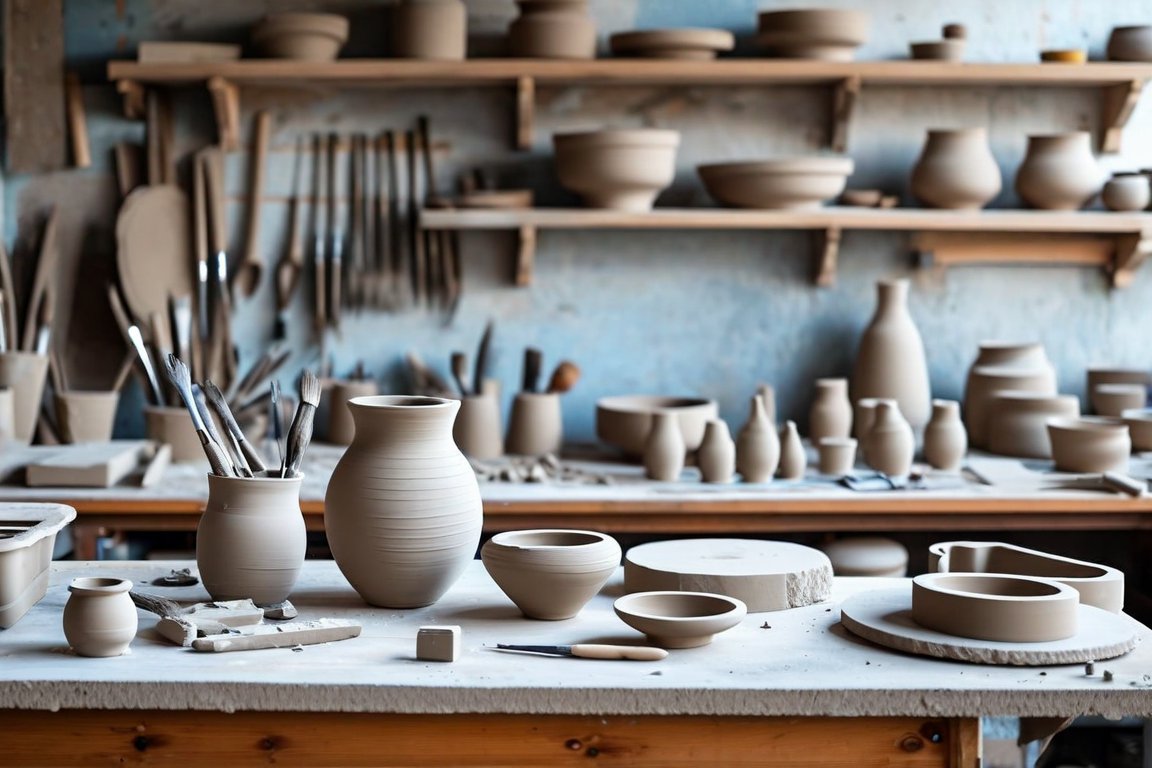
Learn how to create a hand-built slab vase using simple techniques. This tutorial focuses on cutting, scoring, and joining clay slabs to form a beautiful and functional vase. Perfect for beginners and those looking to refine their hand-building skills.
Materials
- Clay (earthenware or stoneware)
- Rolling pin
- Clay knife or needle tool
- Scoring tool
- Slip (clay mixed with water)
- Ruler
- Templates (paper or cardboard)
- Plastic wrap
- Sponge
- Wooden board or canvas surface
Time & Difficulty
- Time: 2–3 hours
- Difficulty: Beginner to Intermediate
Step-by-Step
- Prepare work surface with a wooden board or canvas.
- Roll clay into a slab 1/4 inch thick using a rolling pin.
- Cut clay slab using templates for vase sides and base.
- Score edges of cut slabs with a scoring tool.
- Apply slip to scored edges with a brush or finger.
- Firmly press and join the vase sides and base.
- Reinforce seams by smoothing with a damp sponge.
- Wrap vase in plastic to dry slowly and prevent cracking.
- Allow vase to dry until leather-hard, then refine seams.
- Check for air pockets and smooth surface with a sponge.
- Leave vase uncovered to dry completely before firing.
- Bake in a kiln according to clay manufacturer's instructions.
Troubleshooting
- Cracks appear: Ensure even thickness and slow drying.
- Seams separate: Increase scoring and slip application.
- Surface rough: Smooth with a damp sponge before drying.
Cleanup & Storage
- Clean tools with water and a sponge.
- Store unused clay in an airtight container.
- Dispose of clay scraps responsibly; do not wash down the drain.
Next Exercises
- Experiment with textured slabs using various tools.
- Create a set of matching slab vases with different heights.
- Explore colored slips for decorative surface designs.
Byline: Amina Laurent-Érable