Linocut Print at Home: Design, Carve, Ink, Press
Linocut Print at Home: Design, Carve, Ink, Press
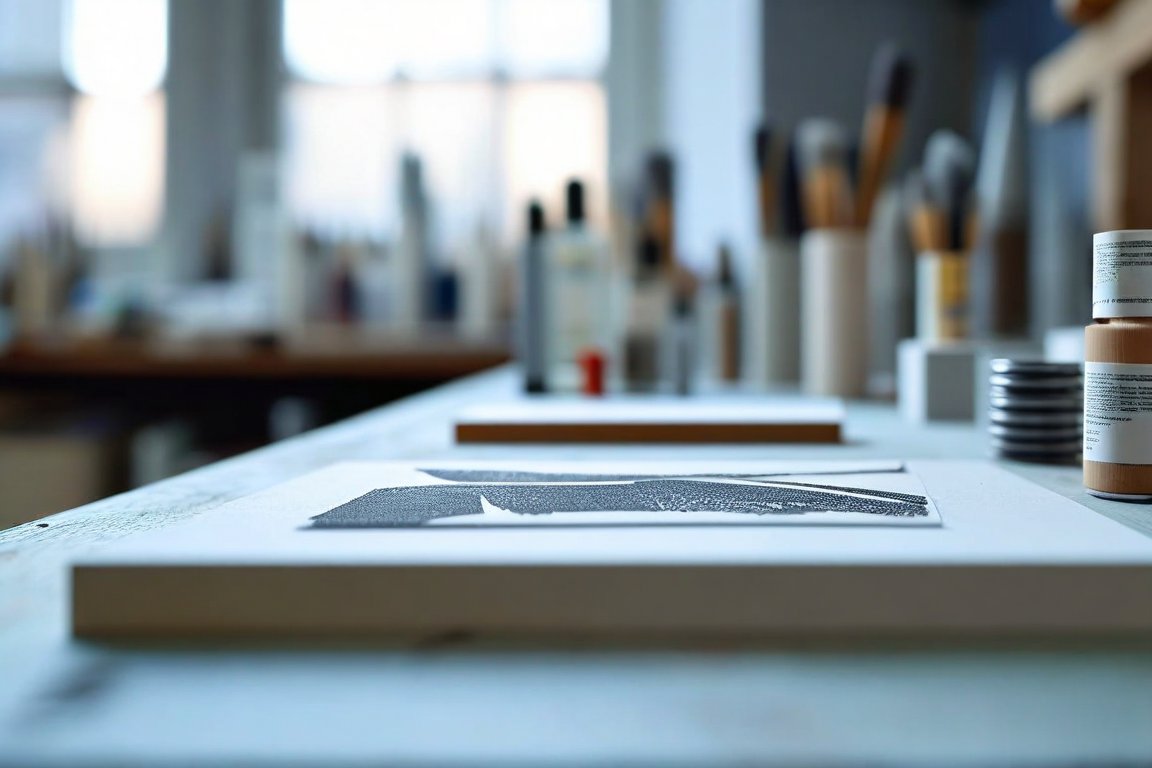
Learn to create a linocut print from start to finish. This tutorial guides you through designing, carving, inking, and pressing your own edition of prints. Gain skills in relief printmaking and produce unique art pieces.
Materials
- Lino block
- Carving tools
- Brayer (roller)
- Block printing ink
- Palette or flat surface for inking
- Printing paper
- Baren or spoon (for pressing)
- Pencil and paper for design
- Craft knife
- Masking tape
- Clean rags or paper towels
Time & Difficulty
- Time: 2-3 hours
- Difficulty: Intermediate
Step-by-Step
- Sketch your design on paper. Keep it simple.
- Transfer the design to the lino block with a pencil.
- Use carving tools to cut away non-image areas.
- Roll ink onto the palette to an even layer.
- Ink the lino block with the brayer.
- Align paper over the inked block using masking tape for registration.
- Press the paper onto the block with a baren or spoon.
- Carefully peel the paper from the block.
- Inspect the print for even inking and registration.
- Adjust inking or pressure as needed.
- Repeat the process for additional prints.
- Allow prints to dry thoroughly.
Troubleshooting
- Uneven inking: Adjust ink layer on palette.
- Blurry prints: Check paper alignment and pressure.
- Carving mistakes: Use a craft knife to clean edges.
Cleanup & Storage
- Wash brayer and tools with soap and water.
- Wipe excess ink from surfaces with rags.
- Store lino block flat to prevent warping.
Next Exercises
- Experiment with multi-color prints.
- Try different textures with varied carving tools.
- Create a series with a thematic design.