Overview
Let's dive into the world of pottery by creating a charming 6-inch hand-built pot using air-dry clay. This project is not only fun but also a wonderful introduction to the art of hand-building. Beginners often find it tricky to keep the pot's walls even, but with practice, you'll master it in no time.
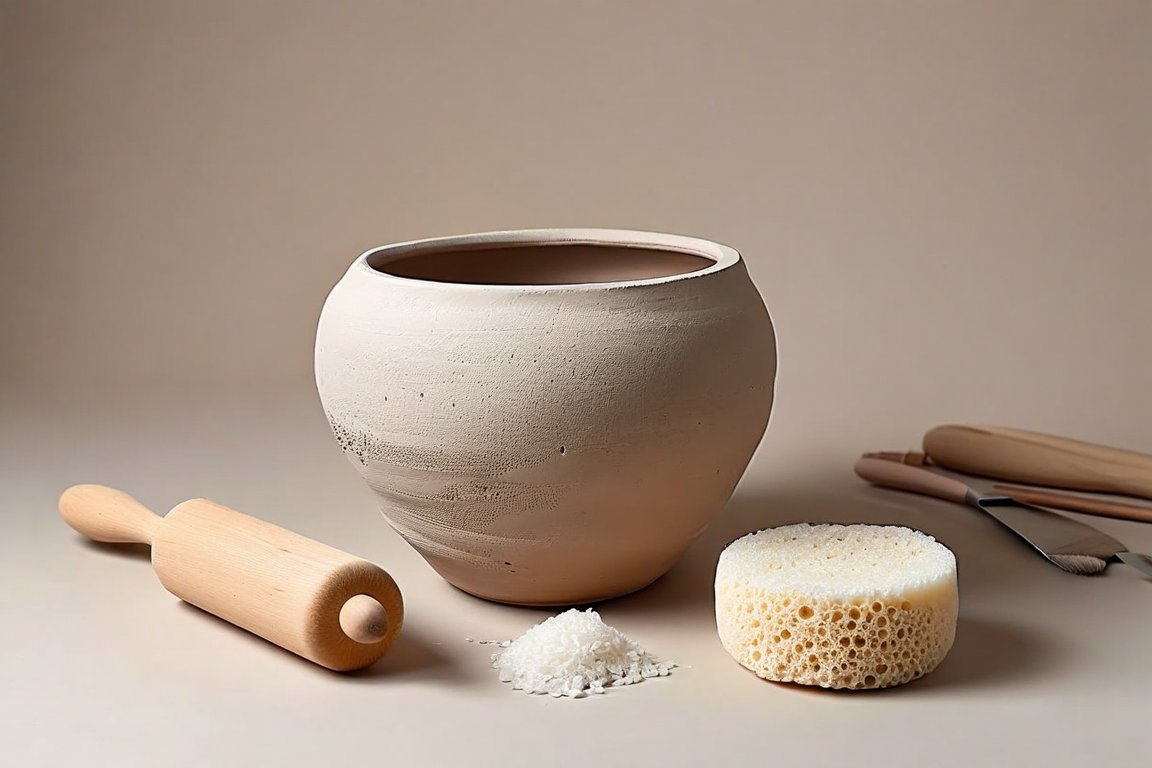
Materials
- 500g (1 lb) air-dry clay
- Pottery tools (smoothing tool, knife, rolling pin)
- Small bowl of water for slip
- Texturing tools (toothpick, sponge, fabric)
- Paint (acrylic or watercolor)
- Clear acrylic sealant
- Wax paper or silicone mat (as work surface)
Time & Difficulty
- Total time: 1 hour
- Active time: 45 minutes
- Curing/drying: 24 hours
- Difficulty: Beginner
Step-by-Step
- Prepare your workspace by laying down wax paper or a silicone mat.
- Knead the clay until it's soft and pliable, about 5 minutes.
- Roll the clay into a slab about 1 cm (0.4 inches) thick using the rolling pin.
- Cut a circle from the slab for the pot's base, approximately 15 cm (6 inches) in diameter.
- Form a rectangular strip of clay for the pot's walls, about 30 cm (12 inches) long and 6 cm (2.4 inches) high.
- Score the edges of the base and the wall strip with a knife.
- Apply slip (watered-down clay) to the scored areas to act as glue.
- Attach the wall strip to the base, smoothing the seam with a smoothing tool.
- Texture the pot's surface using your chosen tools; experiment with patterns.
- Let the pot dry for at least 24 hours in a cool, dry place.
- Paint your pot with your chosen colors once it's dry.
- Seal the painted pot with a clear acrylic sealant to protect it.
- Enjoy your handmade pot!
Pro Tips
- Use a damp sponge to smooth out imperfections.
- Keep your clay covered with a damp cloth to prevent it from drying out.
- Experiment with different texturing tools for unique finishes.
Common Mistakes
- Uneven walls: Roll the clay evenly and measure with a ruler.
- Cracked seams: Ensure they are well-scored and slipped.
- Paint peeling: Allow the pot to dry thoroughly before painting.
Safety Notes
- Use non-toxic paint and sealant.
- Work in a well-ventilated area when sealing.
- Keep tools away from children when not in use.
Cleanup & Storage
- Wash tools in warm, soapy water immediately after use.
- Store leftover clay in an airtight container.
- Wipe down your work surface with a damp cloth.
Next Exercises
- Create a set of matching cups using the same hand-building techniques.
- Experiment with adding handles to your pots.
- Try making a larger pot with more complex textures.