Overview
Let's create a charming small wall hanging using recycled fabrics! This project is a delightful way to add a personal touch to your home decor while practicing sustainable crafting. Beginners often find selecting a harmonious color palette challenging, but don’t worry—we’ll guide you through it.
Materials
- Cardboard loom (20 cm x 30 cm / 8 in x 12 in)
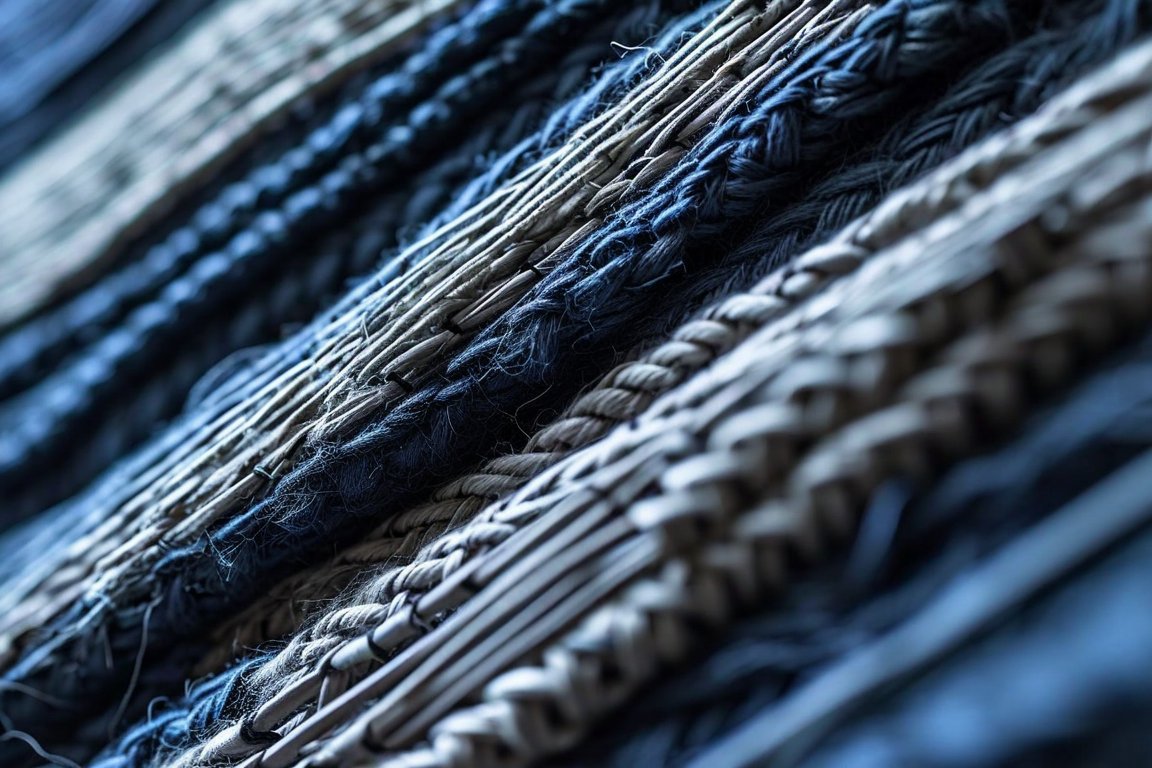
- Recycled fabric strips (varied colors, 1 cm / 0.4 in wide, total 3 meters / 10 feet)
- Cotton warp thread (5 meters / 16 feet)
- Wooden dowel (30 cm / 12 in)
- Scissors
- Tapestry needle
- Comb or fork (for packing weft)
- Optional: Beads or buttons for embellishment
Time & Difficulty
- Total time: 3 hours
- Active time: 2 hours
- No curing/drying time required
- Difficulty: Beginner-friendly
Step-by-Step
- Prepare your loom: Cut notches 1 cm (0.4 in) apart along the top and bottom of your cardboard.
- Warp the loom: Tie one end of the cotton thread to a notch, then wrap it around the loom, securing it in each notch until you reach the other side. Tie off securely.
- Select your color palette: Choose 3-5 colors from your fabric strips that complement each other.
- Weave the base: Thread a tapestry needle with a fabric strip, then weave over and under the warp threads. Pack down each row with a comb or fork.
- Change colors: When you switch colors, leave a tail of about 5 cm (2 in) at the back to secure later.
- Create texture: Vary the width of fabric strips or add knots for interest.
- Finish weaving: Continue until you reach the desired length, leaving about 5 cm (2 in) of warp thread at the end.
- Secure the ends: Tie off the fabric strips and warp ends at the back.
- Attach to dowel: Slide the top warp loops onto the wooden dowel for hanging.
- Add embellishments: Sew on any beads or buttons if desired.
- Trim and tidy: Cut any excess threads and tidy up the back.
Pro Tips
- Use a variety of textures in your fabric strips for a more dynamic look.
- If your cardboard bends, reinforce it with another layer of cardboard.
- Wrap your cardboard loom with clear packing tape to make it sturdier.
Common Mistakes
- Warp threads too loose: Tighten by re-wrapping or adding tension with weights.
- Uneven edges: Consistently pack the weft using a comb or fork.
- Color clashes: Lay out your strips in advance to visualize the palette.
Safety Notes
- Use sharp scissors with care; always cut away from your body.
- Ensure the tapestry needle is stored safely when not in use.
Cleanup & Storage
- Store leftover fabric strips in a sealed bag to prevent tangling.
- Keep your loom and tools in a designated box for easy access.
- Dispose of fabric scraps responsibly, recycling where possible.
Next Exercises
- Create a larger wall hanging using the same techniques.
- Experiment with adding natural elements like twigs or feathers.
- Explore different weaving patterns such as twill or basket weave.
By Rowan Mapleridge