Overview
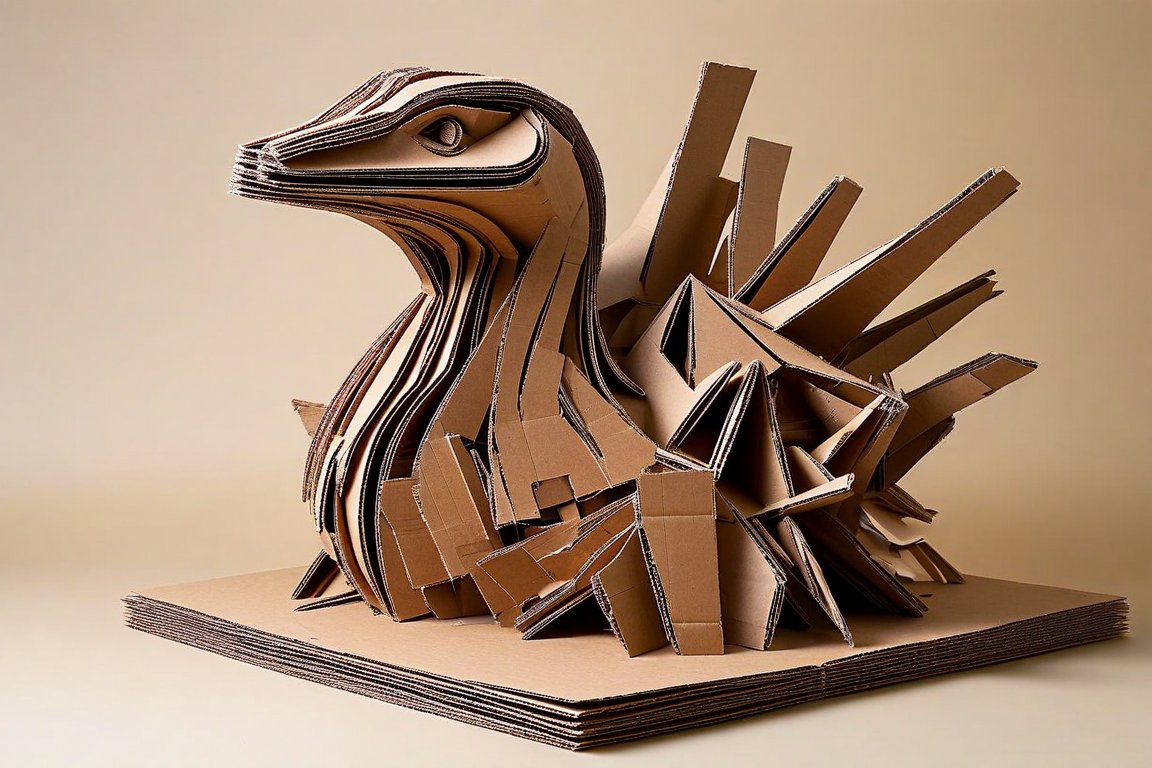
In this project, we'll create a charming 12-inch sculpture using recycled cardboard. It's a fun way to transform everyday materials into something artistic and unique. Beginners often struggle with precise cutting and assembly, but with patience and practice, you'll master it.
Materials
- Recycled cardboard: 3-4 large pieces (approx. 60 cm x 60 cm or 24 in x 24 in)
- Craft knife or utility knife
- Cutting mat (or a thick piece of cardboard to protect your surface)
- Hot glue gun and glue sticks
- Paint (acrylic or tempera): assorted colors
- Paintbrushes: various sizes
- Decorative elements: buttons, beads, or fabric scraps
- Pencil and ruler
Time & Difficulty
- Total time: 3-4 hours
- Active time: 2-3 hours
- Curing/Drying: 1 hour
- Difficulty: Easy to Moderate
Step-by-Step
- Plan your sculpture design on paper. Sketch simple shapes like cubes, cylinders, or abstract forms.
- Trace your design onto the cardboard using a pencil and ruler for straight lines.
- Cut out the shapes with a craft knife, using a cutting mat to protect your work surface. Take your time for clean edges.
- Assemble the base structure of your sculpture by gluing the cardboard pieces together with a hot glue gun. Hold pieces in place for a few seconds as the glue sets.
- Add layers and texture by attaching additional cardboard pieces or decorative elements.
- Paint the entire sculpture with a base coat. Let it dry for about 15-20 minutes.
- Apply more colors and details with smaller brushes. Experiment with texture by dabbing or layering paint.
- Attach decorative elements like buttons or beads with hot glue for added interest.
- Let your sculpture dry completely for at least an hour before displaying.
Pro Tips
- Use a metal ruler to guide your cuts for straighter lines.
- Mix paint colors on a palette to create custom shades that match your decor.
- Experiment with different textures by using sponges or fabric to apply paint.
Common Mistakes
- Cardboard tearing during cutting: use a sharp knife and light pressure.
- Uneven gluing: apply a thin line of glue and press firmly.
- Paint smudging: allow each layer to dry before adding new colors.
Safety Notes
- Handle the craft knife with care; always cut away from your body.
- Use the hot glue gun on a heat-resistant surface and keep fingers clear of the nozzle.
- Ensure good ventilation when painting to avoid inhaling fumes.
Cleanup & Storage
- Wipe paintbrushes clean with water and mild soap immediately after use.
- Store unused cardboard flat to prevent warping.
- Keep paint containers tightly sealed to prevent drying out.
Next Exercises
- Create a mixed-media sculpture by incorporating other recycled materials like plastic bottles or metal cans.
- Experiment with different painting techniques, such as dry brushing or splatter painting.
- Design a series of sculptures that tell a story or represent a theme.
Byline: Amina Laurent-Érable.