Overview
In this engaging project, we’ll create a small clay sculpture using air-dry clay, perfect for beginners eager to explore their artistic side. Sculpting on a small scale allows you to focus on details and experiment with texturing techniques. The most common challenge for newcomers is managing the moisture of the clay, but with patience and practice, you'll create a delightful piece of art.
Materials
- 500 grams (about 1 pound) of air-dry clay
- Basic sculpting tools (or household items like a butter knife and toothpick)
- Small cup of water
- Aluminum foil (for creating an armature)
- Acrylic paint (various colors)
- Paintbrushes of varying sizes
- Fine-grit sandpaper (optional, for smoothing)
- Clear sealant spray (optional, for finishing)
Time & Difficulty
- Total time: 90 minutes
- Active time: 60 minutes
- Curing/drying time: 24 hours
- Difficulty: Beginner
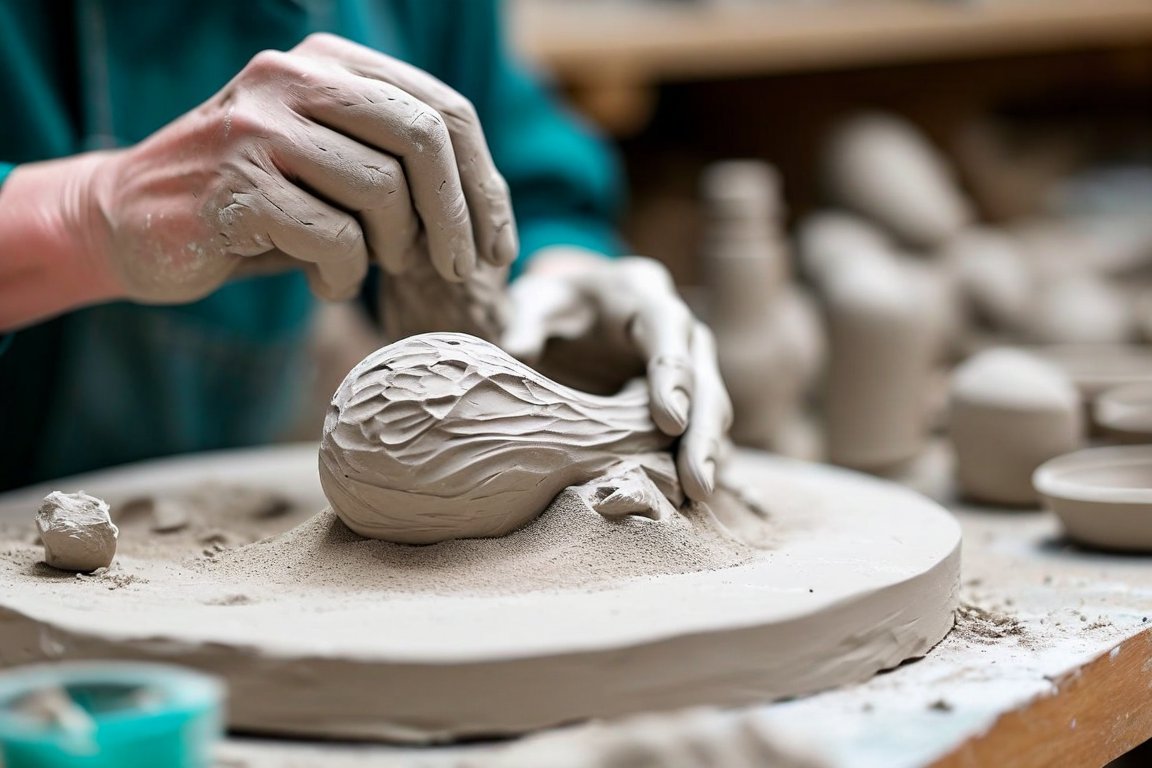
Step-by-Step
- Prepare your workspace. Cover your surface with newspaper or a plastic sheet to protect it from clay and paint.
- Create the armature. Shape a small form using aluminum foil to act as the core of your sculpture, giving it structure and saving clay.
- Condition the clay. Knead the air-dry clay until it's soft and pliable, adding a few drops of water if necessary.
- Cover the armature. Flatten pieces of clay and wrap them around the foil form, smoothing seams with your fingers or a damp cloth.
- Shape your sculpture. Use your tools to carve and refine details, such as facial features or texture, on the surface of the clay.
- Add texture. Experiment with household items like a toothbrush or comb to imprint unique patterns.
- Let it dry. Allow your sculpture to air dry for at least 24 hours, turning it occasionally to ensure even drying.
- Sand the surface. If desired, gently smooth any rough areas with fine-grit sandpaper once the clay is completely dry.
- Paint your sculpture. Use acrylic paints to bring your sculpture to life, layering colors for depth and interest.
- Seal the paint. After the paint dries, apply a clear sealant spray to protect your sculpture and give it a professional finish.
Pro Tips
- Keep a small bowl of water nearby to smooth the clay and prevent cracks.
- Use a light hand when sanding to avoid removing too much material.
- Mix acrylic paints to create custom colors that match your vision.
Common Mistakes
- Clay too dry: Add small amounts of water and knead thoroughly.
- Sculpture cracking: Ensure even drying by turning the piece regularly.
- Paint peeling: Allow paint to dry completely before sealing.
Safety Notes
- Avoid inhaling dust when sanding; work in a well-ventilated area.
- Keep tools out of reach of small children to prevent injury.
Cleanup & Storage
- Wash tools and brushes with warm soapy water immediately after use.
- Store unused clay in an airtight container to maintain moisture.
Next Exercises
- Create a series of miniature animal sculptures to refine detail work.
- Experiment with different texturing tools on flat clay tiles.
- Attempt a larger sculpture using the same techniques for added complexity.