Overview
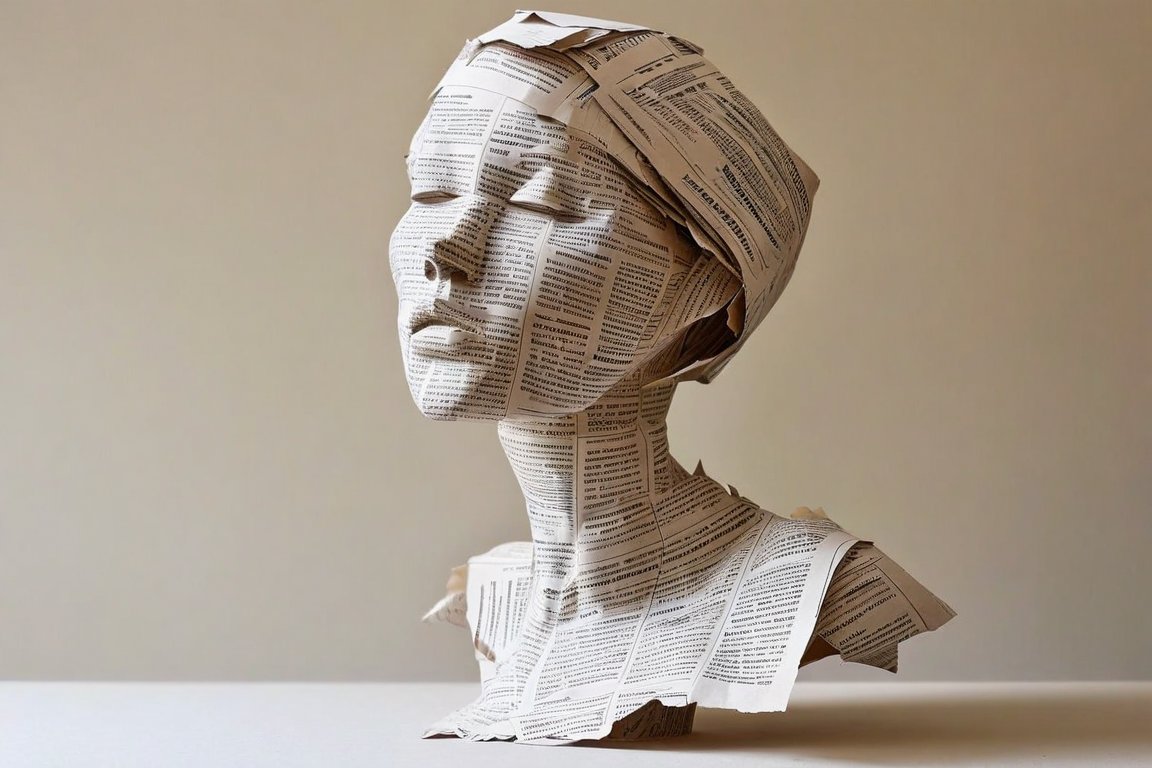
In this project, we're crafting a delightful 25 cm (10-inch) paper mache sculpture. This is a fun, tactile adventure that allows you to transform recycled materials into art. Beginners often slip by rushing the drying process or using too much glue, so patience and balance are key.
Materials
- Newspaper: 10 full sheets, torn into strips
- All-purpose flour: 120 grams (1 cup) or white glue: 240 ml (1 cup)
- Water: 240 ml (1 cup)
- Armature wire or cardboard: for structure
- Paint: acrylic or tempera
- Paintbrushes: various sizes
- Mixing bowl and mixing spoon
- Scissors
- Plastic sheet or old tablecloth: to protect surfaces
- Optional: sandpaper for smoothing
Time & Difficulty
- Total time: 3 hours
- Active time: 1.5 hours
- Drying time: At least 24 hours
- Difficulty: Beginner-friendly
Step-by-Step
- Prepare your workspace. Lay down a plastic sheet to catch any messes.
- Create your paste. Mix flour and water until smooth, or use diluted white glue.
- Build your armature. Shape wire or cardboard into the desired form. This is the skeleton of your sculpture.
- Dip strips in paste. Fully coat newspaper strips in paste, removing excess by pulling through fingers.
- Apply strips to armature. Layer strips, overlapping slightly, to cover the structure completely.
- Repeat layers. Add 2-3 more layers for strength, letting each dry slightly before adding the next.
- Dry thoroughly. Let your sculpture dry for at least 24 hours, or until it feels hard and dry.
- Sand if needed. Use sandpaper to smooth any rough areas once completely dry.
- Paint your sculpture. Use colorful paints to bring your creation to life. Allow paint to dry.
Pro Tips
- Use a hairdryer to speed up drying between layers.
- Add a tablespoon of salt to the paste to prevent mold.
- Thin layers of paste ensure a smoother finish.
Common Mistakes
- Overly thick paste leads to clumps. Stir longer to dissolve lumps.
- Incomplete drying causes sagging. Ensure each layer feels firm before adding more.
- Using too much glue creates a sticky mess. Always remove excess paste from strips.
Safety Notes
- Flour paste can spoil; make fresh batches as needed.
- Use scissors carefully when cutting materials.
Cleanup & Storage
- Wash brushes and mixing tools with warm, soapy water immediately after use.
- Store leftover paint in airtight containers to prevent drying out.
- Dispose of unused paste responsibly to avoid plumbing issues.
Next Exercises
- Experiment with different armature materials, like balloons or foam.
- Create a textured sculpture using tissue paper instead of newspaper.
- Try making a larger sculpture, increasing size and complexity.
By Rowan Mapleridge.