Overview
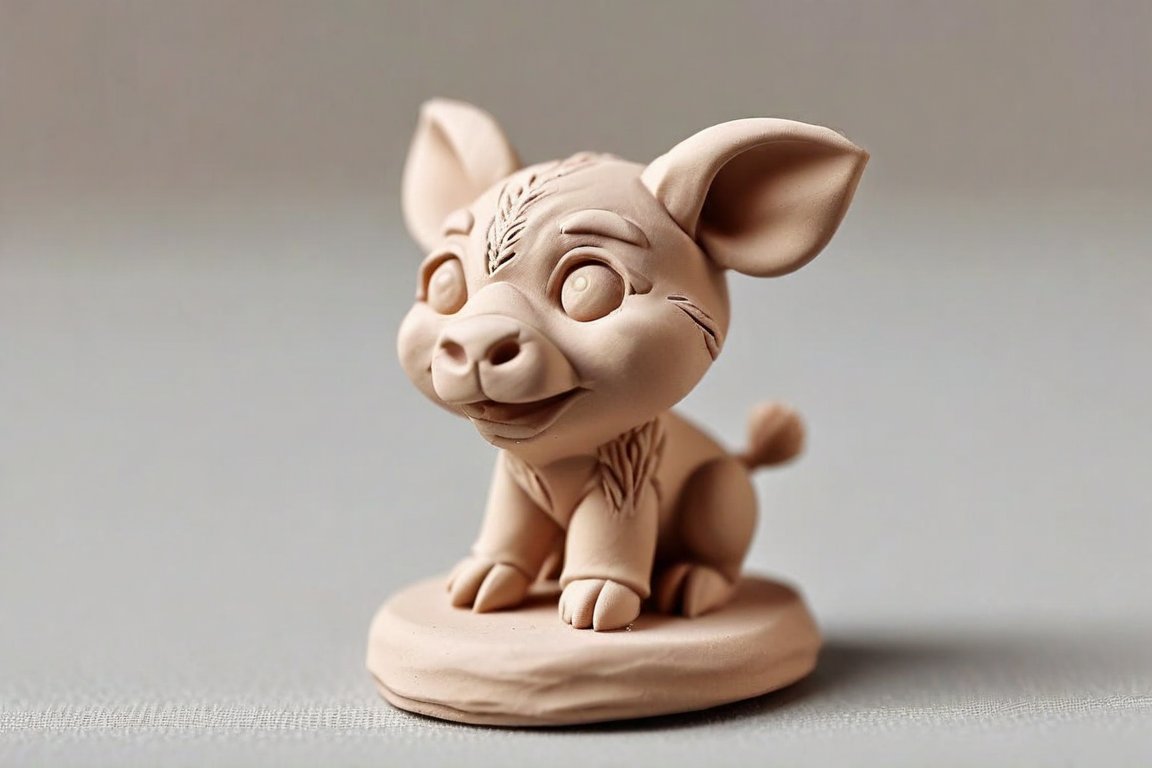
Today, we'll create a delightful miniature clay sculpture using just three simple tools. This project is fun because it combines creativity with hands-on crafting, and it's a fantastic introduction to sculpting for beginners. Many new sculptors struggle with shaping and texturing, but with patience and practice, you'll find it incredibly rewarding.
Materials
- 500 grams (about 1 pound) of air-dry clay
- 1 sculpting knife
- 1 needle tool or toothpick
- 1 small brush for detailing
- A small bowl of water
- Acrylic paints (basic colors)
- Paintbrushes (fine tip and medium)
- Sealant spray (optional, for longer durability)
Time & Difficulty
- Total time: Approximately 3 hours
- Active time: 1.5 hours
- Curing/Drying time: 24 hours
- Difficulty: Beginner-friendly
Step-by-Step
- Prepare your workspace. Lay down a protective cover on your table to keep it clean.
- Condition the clay. Knead the air-dry clay until it's soft and pliable. This makes shaping easier.
- Shape the base. Form a ball about the size of a large marble (2.5 cm or 1 inch in diameter).
- Create the main body. Roll a sausage shape about 5 cm (2 inches) long and attach it to the base.
- Sculpt details. Use the sculpting knife to carve in features, like eyes or a mouth, if desired.
- Texture the surface. Use the needle tool or toothpick to add texture, like fur or scales, to your sculpture.
- Smooth and refine. Dip your finger in water and gently smooth out any rough areas.
- Let it dry. Set your sculpture aside in a well-ventilated area to dry for 24 hours.
- Paint your sculpture. Once dry, use acrylic paints to bring your creation to life. Let it dry completely.
- Seal if desired. Use a sealant spray to protect your paintwork and enhance durability.
Pro Tips
- Keep your clay covered with a damp cloth when not in use to prevent it from drying out.
- Test your paint colors on a scrap piece of clay to see how they look once dry.
- Use a damp brush to blend paint colors smoothly on the clay surface.
Common Mistakes
- Cracking: If your sculpture cracks while drying, patch it with a little wet clay and let it dry again.
- Uneven drying: Place your sculpture on a wire rack to ensure air circulates evenly around it.
- Over-smoothing: Avoid using too much water, which can weaken the clay.
Safety Notes
- Work in a well-ventilated area when using sealant spray.
- Handle sculpting tools carefully to avoid injury.
- Keep small tools and pieces of clay out of reach of children.
Cleanup & Storage
- Wipe tools clean with a damp cloth before the clay hardens.
- Store leftover clay in an airtight container to keep it fresh.
- Wash paintbrushes immediately after use to prevent paint buildup.
Next Exercises
- Try sculpting a miniature animal with more complex features.
- Experiment with different textures using household items like forks or sponges.
- Explore sculpting with polymer clay, which requires baking to set.
Byline: Theo Northlake