Overview
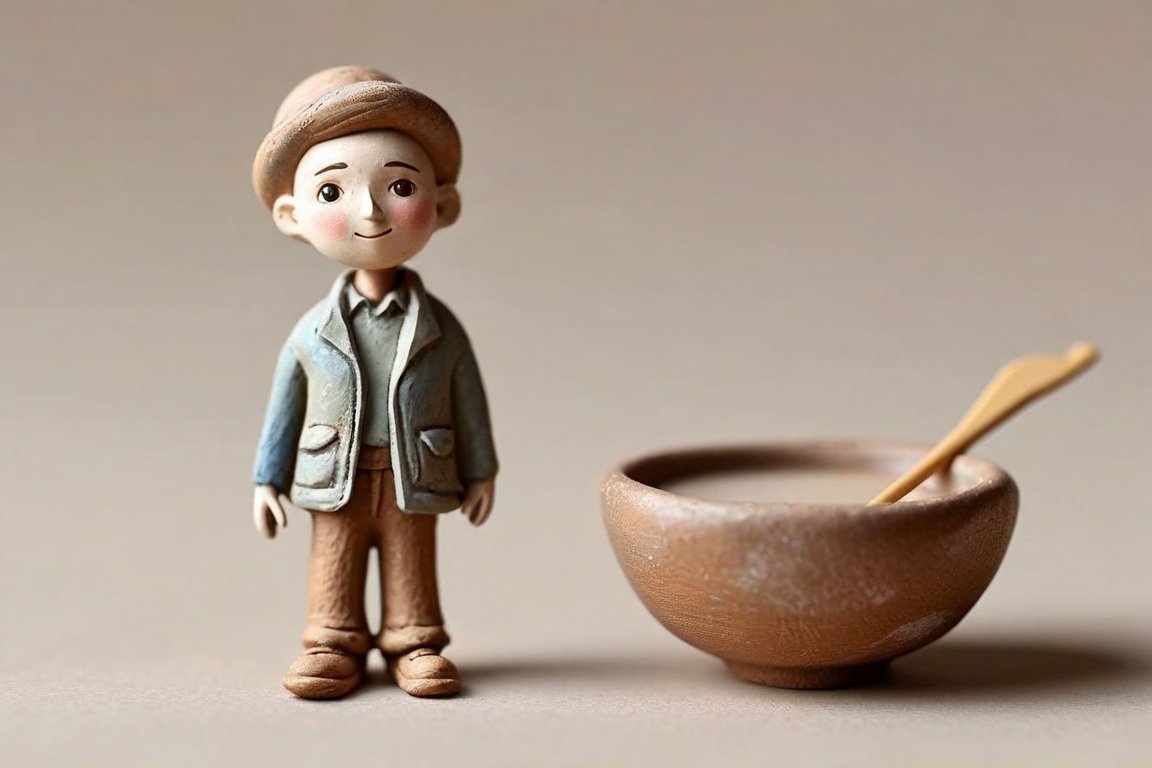
Today, we'll create a charming small clay figure using air-dry clay and simple household items. This project is a delightful way to explore sculpting without needing specialized tools. Beginners often struggle with shaping and texturing, but with patience and practice, you'll master these skills!
Materials
- Air-dry clay: 250g (8.8 oz)
- Toothpicks or skewers (for detailing)
- Old butter knife or plastic knife (for cutting and smoothing)
- Small bowl of water
- Paintbrush (small, fine tip)
- Acrylic paints (variety of colors)
- Varnish or sealant (to finish, optional)
- Wax paper or parchment paper (to protect surfaces)
Time & Difficulty
- Total Time: 3 hours
- Active Time: 1-2 hours
- Curing/Drying: 24 hours
- Difficulty: Beginner
Step-by-Step
- Prepare your workspace. Lay down wax paper to protect your surface.
- Condition the clay. Knead the air-dry clay for about 5 minutes until it's soft and pliable.
- Form the base shape. Roll a ball about the size of a golf ball (around 4 cm or 1.5 inches in diameter) for the body.
- Create limbs and features. Use smaller pieces of clay to form arms, legs, and other features. Attach them by gently pressing and smoothing the joints with a damp finger.
- Detail with household tools. Use toothpicks or skewers to carve details like eyes, mouth, or texture.
- Smooth the surface. Dip your fingers in water and gently smooth out rough areas of your figure.
- Let it dry. Allow the figure to dry for 24 hours on the wax paper.
- Paint your figure. Once dry, use a small paintbrush and acrylic paints to add color and personality.
- Seal your work. If desired, apply a thin layer of varnish or sealant to protect your paint job and add a slight shine.
Pro Tips
- Keep a small bowl of water nearby to help smooth and blend clay pieces.
- Use a damp cloth to keep your hands clean and clay-free for smoother sculpting.
- Experiment with textures by pressing objects like leaves or fabric into the clay.
Common Mistakes
- Cracking: Keep the clay moist while working to prevent cracks. If cracks appear, smooth over with a damp finger.
- Weak joints: Ensure all pieces are securely attached by blending seams well.
- Uneven drying: Turn your figure occasionally during drying to prevent warping.
Safety Notes
- Avoid inhaling clay dust; always work in a well-ventilated area.
- Do not ingest clay or paints.
- Keep sharp tools away from children.
Cleanup & Storage
- Store unused clay in an airtight container to keep it from drying out.
- Clean tools with warm water and soap immediately after use.
- Ensure brushes are thoroughly washed to avoid paint drying on bristles.
Next Exercises
- Create a series of small animals to practice proportions and detailing.
- Experiment with abstract shapes to explore balance and form.
- Try making a relief sculpture on a flat surface to develop texturing skills.