Overview
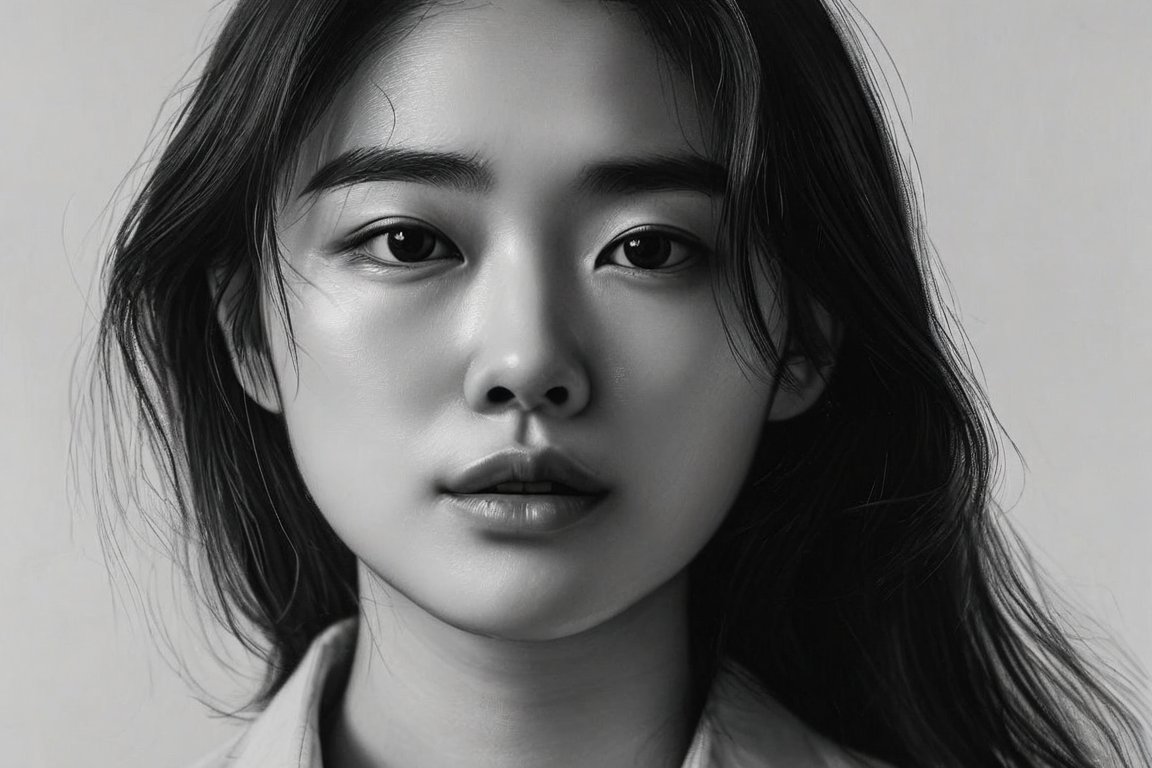
Today, we'll dive into the world of charcoal drawing to create a stunning portrait in just three hours. Charcoal is a fantastic medium for capturing the depth and emotion of a face, and you'll find it both challenging and rewarding. Beginners often struggle with blending and shading, but with patience and practice, you'll see your skills grow.
Materials
- Charcoal pencils (soft, medium, and hard) - 1 each
- Charcoal sticks - 3 pieces
- Thick drawing paper (A3 size or 11x17 inches) - 1 sheet
- Kneaded eraser - 1
- Tissue or blending stumps - 2-3
- Reference photo - 1 (a clear, well-lit image)
- Fixative spray (optional) - 1 can
Time & Difficulty
- Total time: 3 hours
- Active time: 2.5 hours
- Curing/drying: 30 minutes (if using fixative)
- Difficulty: Moderate
Step-by-Step
- Select a reference photo that inspires you. Ensure it has good lighting and clear details.
- Prepare your workspace with all materials within arm's reach. Tape your paper to a flat surface to prevent movement.
- Sketch a light outline of the face using a hard charcoal pencil. Focus on proportions and main features.
- Define the eyes, nose, and mouth with more detail. Use a medium charcoal pencil to add depth.
- Shade the darker areas using soft charcoal sticks. Apply gentle pressure for smooth coverage.
- Blend the shaded areas with a tissue or blending stump. Work in small circles for a natural look.
- Add highlights by gently using the kneaded eraser on the brightest parts of the face.
- Refine details such as hair and texture. Use the hard charcoal pencil for sharp lines.
- Review the portrait from a distance. Make any final adjustments to balance the tones.
- Seal your artwork with a light mist of fixative spray to prevent smudging (optional).
Pro Tips
- Keep a scrap piece of paper under your hand to avoid smudging your work.
- Twist the kneaded eraser into a fine point for precise highlights.
- Step back every 15 minutes to view your work from a distance. It helps spot areas that need adjustment.
Common Mistakes
- Going too dark too soon. Start light and build up the darkness gradually.
- Overblending, which can make the portrait look flat. Preserve some texture for depth.
- Ignoring proportions. Use a grid or measure with your pencil to keep features in scale.
Safety Notes
- Work in a well-ventilated area, especially if using fixative spray.
- Avoid inhaling charcoal dust. Consider wearing a mask if you're sensitive.
Cleanup & Storage
- Store your charcoal pencils and sticks in a dry, cool place.
- Keep your artwork flat to avoid bending or smudging.
- Clean your blending tools with a damp cloth after use.
Next Exercises
- Draw a portrait using only charcoal sticks to enhance your shading skills.
- Practice quick, 30-minute charcoal sketches to improve speed and confidence.
- Create a series of portraits focusing on different facial expressions.
Byline: Claire Stoneharbour