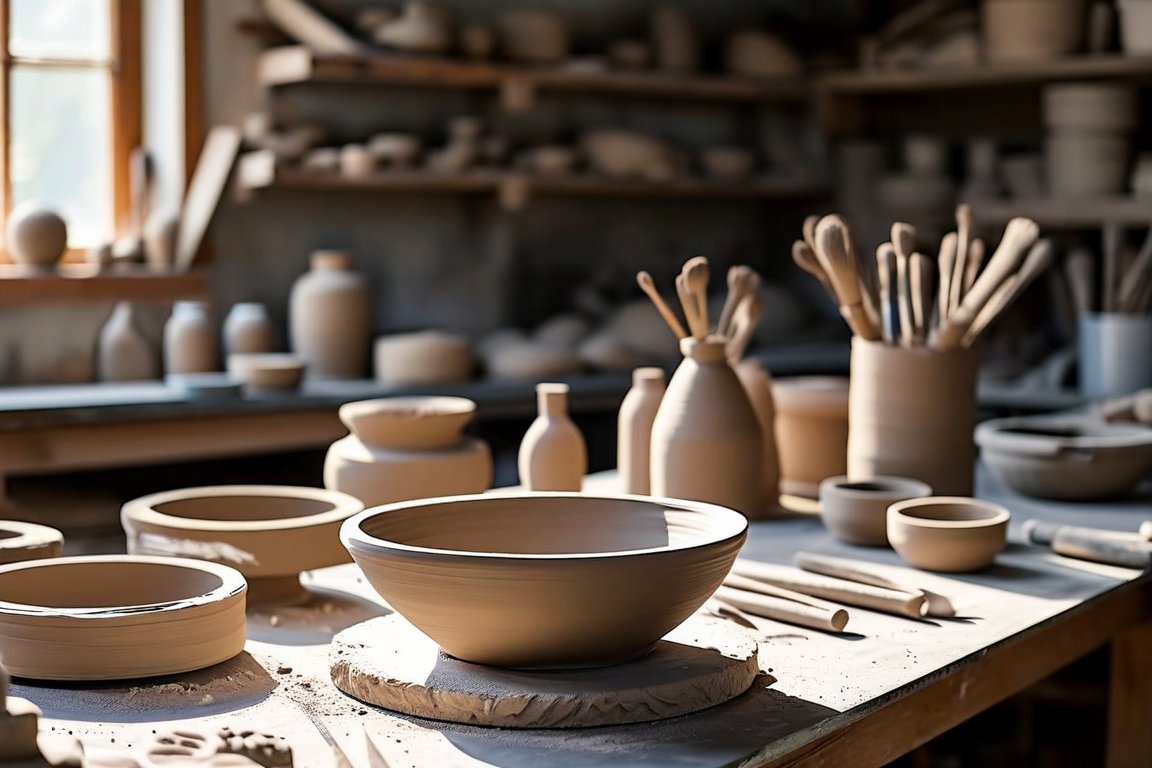
Overview
In this project, we'll hand-build a charming 6-inch (15 cm) clay bowl using air-dry clay. This process is both creative and calming, as you shape and form the clay with your hands. Beginners often find the coiling and slab techniques tricky at first, but with patience, you'll create a lovely piece.
Materials
- 500g (1 lb) of air-dry clay
- Small bowl for mold (6-inch/15 cm diameter)
- Clay tools or butter knife
- Rolling pin
- Water in a small bowl
- Old toothbrush or scoring tool
- Paintbrush
- Acrylic paint or glaze
- Plastic wrap
- Sandpaper (fine grit)
Time & Difficulty
- Total time: 2 hours
- Active time: 1 hour
- Curing/drying: 24-48 hours
- Difficulty: Beginner
Step-by-Step
- Prepare your workspace by laying down plastic wrap to protect surfaces.
- Condition the clay by kneading it until soft and pliable.
- Roll a slab about 0.5 cm (1/4 inch) thick using the rolling pin.
- Cut a circle from the slab using the small bowl as a guide for the base.
- Form coils by rolling pieces of clay into long, even snakes about 1 cm (3/8 inch) thick.
- Score the edges of the base and the coils with the toothbrush or scoring tool.
- Apply slip (watered-down clay) to the scored areas to help the pieces adhere.
- Attach coils to the base, layering and smoothing as you build up the bowl's walls.
- Smooth the surface with your fingers or a tool, blending the coils into a seamless form.
- Let dry in a cool, dry place for 24-48 hours until completely hardened.
- Sand any rough edges gently with fine-grit sandpaper.
- Paint or glaze the bowl using your preferred colors and let it dry thoroughly.
Pro Tips
- Keep a damp cloth over unused clay to prevent it from drying out.
- Use a little vinegar as a slip alternative for stronger bonds.
- Experiment with textures by pressing leaves or fabric into the clay before it dries.
Common Mistakes
- Cracks forming as it dries: Ensure coils are well blended and use slip generously.
- Bowl collapsing: Allow the base to set slightly before building up the walls.
- Uneven surface: Smooth with a damp sponge or tool as you work.
Safety Notes
- Use tools carefully to avoid cuts.
- Avoid inhaling clay dust; clean up with a damp cloth.
- Ensure proper ventilation when painting or glazing.
Cleanup & Storage
- Wash tools and hands with warm, soapy water.
- Store any leftover clay in an airtight container.
- Dispose of clay scraps in the trash, not down the sink.
Next Exercises
- Create a matching set of smaller bowls using the same techniques.
- Experiment with adding handles or feet to your bowls.
- Try a larger piece using the slab technique for more complex shapes.