Overview
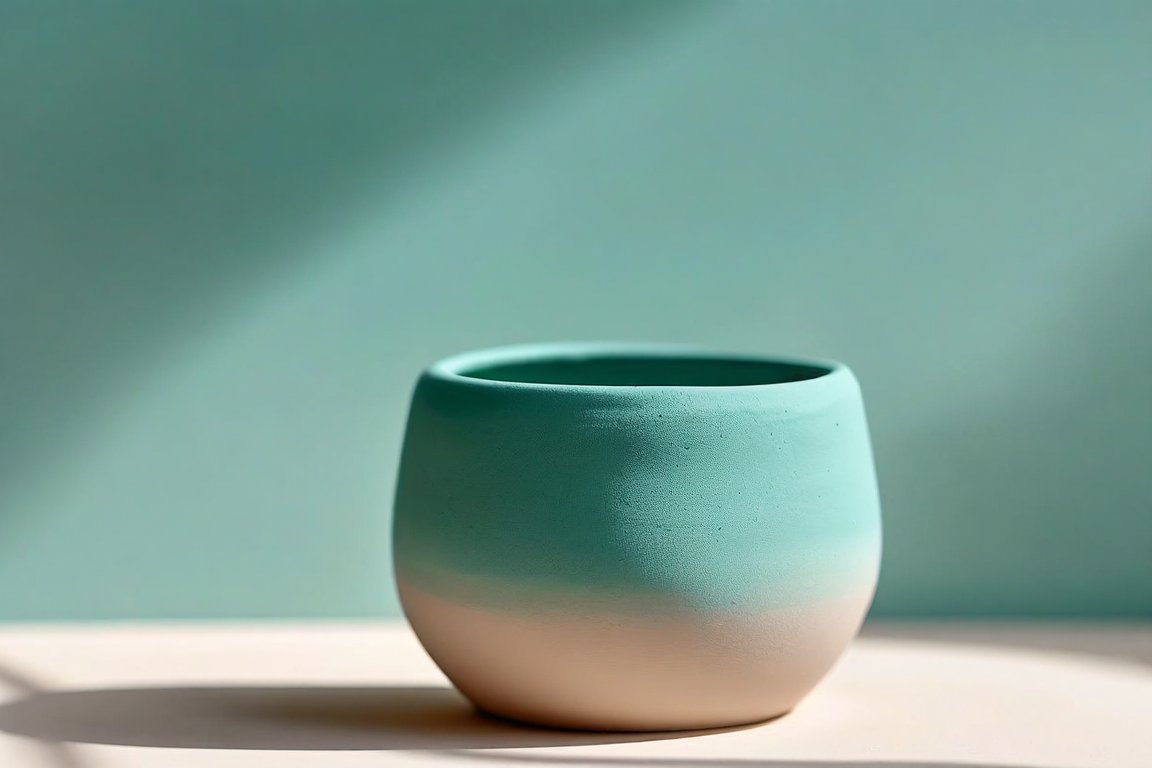
In this project, we'll hand-build a charming small clay planter using air-dry clay. It's a delightful way to add a personal touch to your indoor garden. The process is fun and offers creative freedom, but beginners often struggle with ensuring even thickness and smooth edges. Let’s get started!
Materials
- Air-dry clay (approx. 500g / 1.1 lbs)
- Clay sculpting tools (or household items like forks and toothpicks)
- Rolling pin
- Plastic wrap or a smooth fabric
- Water bowl
- Sandpaper (medium grit)
- Acrylic paint or watercolors
- Paintbrushes
- Sealant (like Mod Podge or a waterproof varnish)
Time & Difficulty
- Total time: 2 hours
- Active time: 1 hour
- Curing/drying time: 24–48 hours
- Difficulty: Beginner-friendly
Step-by-Step
- Prepare your workspace. Cover your table with plastic wrap or a smooth cloth to prevent sticking.
- Condition the clay. Knead the air-dry clay until it’s soft and pliable.
- Roll out the clay. Use a rolling pin to flatten the clay to about 1 cm (3/8 inch) thickness.
- Cut the base. Cut out a circle or square for the base of your planter, approximately 10 cm (4 inches) wide.
- Form the walls. Roll out another piece of clay into a long rectangle, about 5 cm (2 inches) tall and long enough to wrap around the base.
- Attach the walls. Score the edges of the base and the rectangle with a fork, then dampen slightly with water to help them adhere.
- Smooth the seams. Use your fingers or a tool to blend the seams where the walls meet the base and each other.
- Add texture. Use sculpting tools or household items to create designs on the planter’s surface.
- Dry the planter. Allow your planter to dry thoroughly for 24–48 hours.
- Sand the surface. Once dry, gently sand any rough edges with medium-grit sandpaper.
- Paint your planter. Use acrylic paint or watercolors to decorate your planter; let it dry completely.
- Seal the planter. Apply a coat of sealant to protect your creation and make it waterproof.
Pro Tips
- Keep a damp cloth handy to cover your clay when not in use to prevent it from drying out.
- Use a credit card edge to smooth out larger surfaces easily.
- Experiment with natural textures like leaves or fabric for unique designs.
Common Mistakes
- Uneven thickness can lead to cracks; ensure even rolling with a ruler as a guide.
- Cracks during drying? Smooth with a wet finger or add a bit more clay before it fully hardens.
- Paint peeling post-sealing? Ensure paint is fully dry before applying the sealant.
Safety Notes
- Do not ingest clay; wash hands thoroughly after handling.
- Ensure good ventilation when using sealants to avoid inhaling fumes.
Cleanup & Storage
- Store unused clay in an airtight container or plastic bag to keep it from drying out.
- Clean tools with warm, soapy water immediately after use.
- Wipe down your workspace with a damp cloth to remove any clay residue.
Next Exercises
- Create a matching saucer for your planter to catch excess water.
- Experiment with coil-building techniques to make a larger planter.
- Try adding a drainage hole to your next planter for improved plant health.