Overview
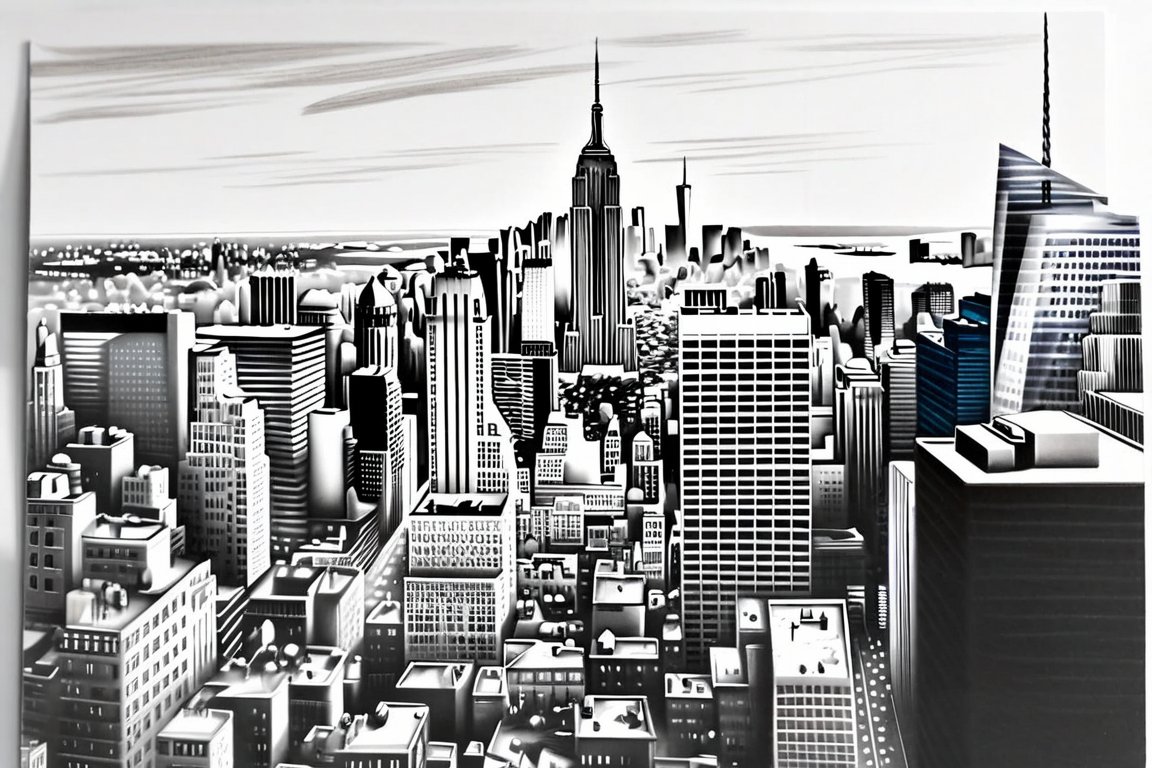
Today, we'll sketch a vibrant cityscape using only pencils in just 30 minutes. This exercise is fun because it allows you to explore perspective and shading, bringing the hustle and bustle of urban life to paper. Beginners often struggle with capturing depth and proportion, but don't worry—I'll guide you through each step with ease.
Materials
- Graphite pencils (HB, 2B, 4B)
- Drawing paper (A4 or 8.5"x11")
- Eraser (kneaded or plastic)
- Ruler (30 cm or 12 inches)
- Blending stump or cotton swab
- Optional: Sharpener
Time & Difficulty
- Total time: 30 minutes
- Active time: 30 minutes
- Curing/drying: None
- Difficulty: Easy to moderate
Step-by-Step
- Choose a reference photo of a cityscape that inspires you. Look for clear lines and interesting buildings.
- Lightly sketch the horizon line with your HB pencil about a third of the way up from the bottom of the page.
- Mark the vanishing point on the horizon line. This will guide your perspective.
- Draw the main vertical lines of the tallest buildings using your ruler for accuracy.
- Add horizontal lines to establish the tops and bottoms of windows and other architectural details.
- Use your 2B pencil to darken the lines that define the edges of buildings, creating depth.
- Shade the sides of buildings that would be in shadow using your 4B pencil for rich contrast.
- Blend the shaded areas with a blending stump or cotton swab for a smoother gradient.
- Erase any unnecessary construction lines, refining the structure of your buildings.
- Enhance details like windows, doors, and street lamps with your 2B pencil.
- Check your work from a distance to ensure balance and harmony in your composition.
- Adjust any areas that need more contrast or detail with your pencils.
- Sign your artwork at the bottom corner to claim your creation!
Pro Tips
- Keep your wrist loose to achieve fluid lines and natural shapes.
- Squint your eyes to better see the value contrasts in your reference photo.
- Vary your pencil pressure to achieve a range of tones in your shading.
Common Mistakes
- Lines are too dark initially: Lightly sketch first, then darken as needed.
- Buildings look flat: Use shading to add depth and dimension.
- Perspective is off: Recheck vanishing point alignment with your ruler.
Safety Notes
- Graphite can smudge; handle your drawing with care to avoid unwanted marks.
- Use a sharpener carefully to avoid injury.
- Keep eraser crumbs away from your eyes and mouth.
Cleanup & Storage
- Gently brush away eraser bits with a clean hand or soft brush.
- Store your drawing flat to prevent creasing or smudging.
- Keep pencils and materials organized in a pencil case for future use.
Next Exercises
- Sketch a single building with intricate details to practice line work.
- Create a night cityscape to explore light and shadow dynamics.
- Draw a street scene with vehicles and pedestrians for added complexity.
By Rowan Mapleridge.