
Overview
This tutorial will guide you through creating a decorative border study inspired by folk art, using layered glazing techniques on a small, display-ready surface. Folk-inspired borders are characterized by rhythmic patterns, stylized motifs, and vibrant yet controlled color palettes. You will learn to plan your design, apply transparent paint layers for depth, and finish your piece for presentation. This project is suitable for motivated beginners and can be completed safely at home with basic materials.
Learning Objectives
- Plan and proportion a folk-inspired border design
- Work with a limited palette and accent color for visual impact
- Apply and control layered glazing for depth and richness
- Refine edges and details for a polished finish
- Prepare your artwork for display
Project Plan
You will create a border study on a small panel (about 20 × 20 cm / 8 × 8 in). The border will feature repeating folk motifs—such as leaves, dots, or geometric shapes—arranged rhythmically around the edge. The center will remain plain or softly glazed to highlight the border. Layered glazes will add color depth, using a limited palette (two harmonious base colors and one accent). The finished piece will be sealed and prepared for display, either framed or set on a small easel.
Materials & Safe Alternatives
- Surface: Small wood panel, heavy watercolor paper (300 gsm/140 lb+), or primed canvas board (approx. 20 × 20 cm)
- Drawing tools: Pencil (HB or 2B), soft eraser, ruler
- Brushes: Soft synthetic round and flat brushes (sizes 2, 4, 8)
- Paints: Water-based acrylics or gouache
- Glazing medium: Acrylic glazing medium or water (for gouache)
- Palette: Two base colors (e.g., blue and ochre) plus one accent (e.g., red)
- Protective surface: Newsprint, craft paper, or plastic sheet
- Finish: Water-based acrylic varnish or spray fixative (matte or satin)
- Display: Simple frame or small easel (optional)
- Safety: Use non-toxic, water-based products; avoid solvents and use spray products only in well-ventilated areas
Time, Difficulty & Setup
- Estimated time: 2–4 hours active work, plus drying time between layers
- Skill level: Motivated beginner
- Setup: Clean, flat workspace with good lighting; cover surface for protection; have water and paper towels for cleaning
- Budget: $20–$60 using student-grade materials
Visual Roadmap
- Prepared materials: All tools and materials arranged on a covered work surface
- Initial layout: Light pencil marks outlining the border and motif placements
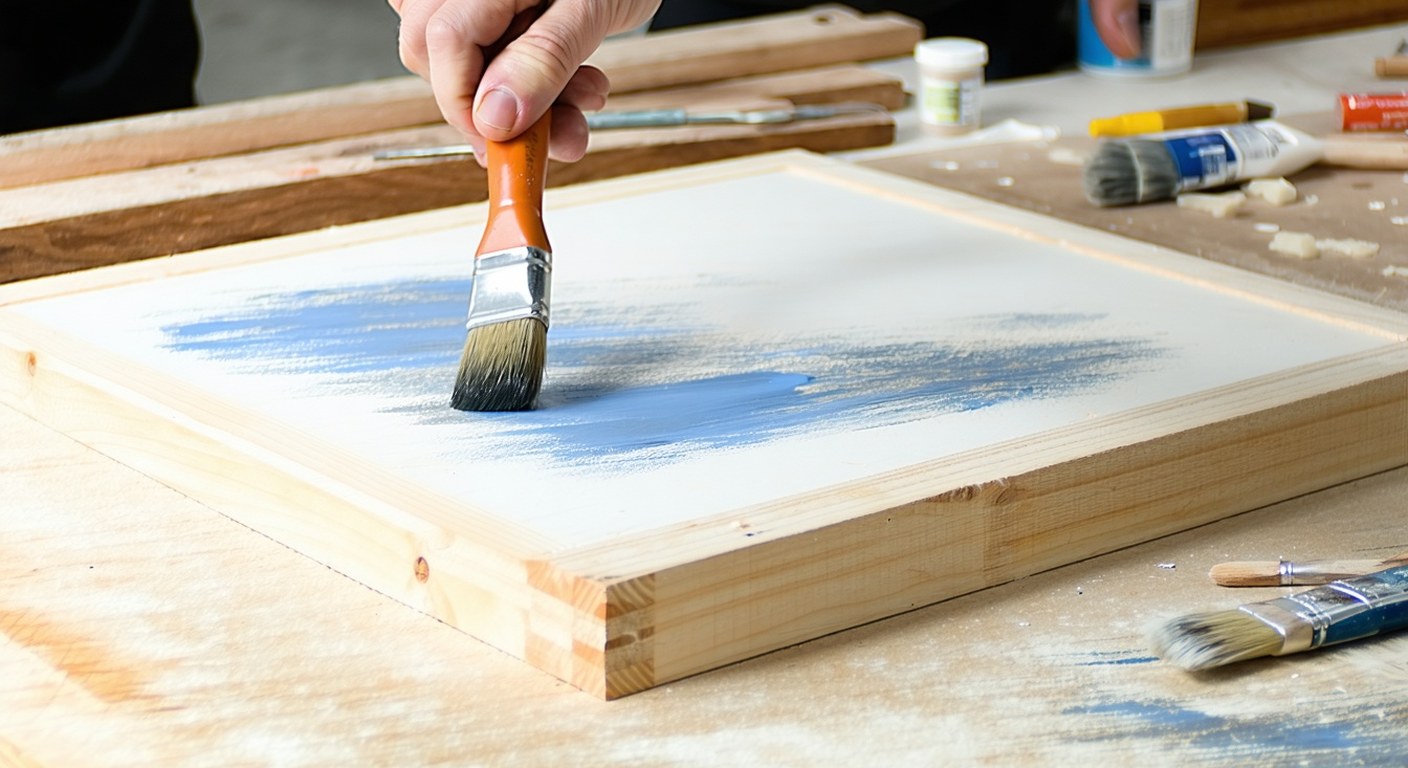
- Main technique in progress: Applying glazed color layers to the border motifs with a soft brush
- Refined details: Clean lines and accent color details added to motifs
- Finished piece: Sealed artwork displayed on an easel or in a frame
Step-by-Step Instructions
- Prepare your workspace. Cover your table, arrange materials, and ensure good lighting.
- Prepare your surface. Smooth wood or canvas board as needed; tape watercolor paper edges for crisp borders.
- Mark the border area. Use a ruler and pencil to draw a border band 2–3 cm wide around the edge, leaving the center open.
- Sketch motifs. Lightly draw repeating folk-inspired shapes (leaves, dots, diamonds) evenly along the border.
- Mix your first glaze. Combine your first base color with glazing medium (or water for gouache) for a translucent wash.
- Apply the first glaze layer. Paint the border area with the diluted color using smooth, even strokes. Let dry completely.
- Add more glaze layers. Mix your second base color with medium/water and apply selectively to build depth. Let each layer dry before adding the next.
- Paint motif shapes. Use less diluted paint to fill in motif shapes, keeping edges clean with a smaller brush.
- Add accent color. Use your accent color to highlight parts of the motifs, such as dots or lines, for emphasis.
- Refine edges. With a fine brush and undiluted paint, clean up lines and correct any overlaps for a crisp finish.
- Erase pencil marks. Once dry, gently remove any visible pencil with a soft eraser, taking care not to smudge the paint.
- Check for balance. Step back and assess the border for evenness, motif consistency, and harmonious use of the accent color.
- Seal the surface. When fully dry, apply a thin, even coat of water-based varnish or spray fixative. Allow to cure as directed.
- Prepare for display. Remove tape, touch up edges if needed, and mount in a frame or place on a small easel.
Visual Checkpoints
- After Step 3: Surface with a penciled border band, no paint applied
- After Step 6: Border area has a translucent color wash, motifs still visible in pencil
- After Step 8: Motif shapes filled in, layered color visible
- After Step 10: Motifs have crisp edges and accent details; border looks lively and balanced
- After Step 14: Finished, sealed, and display-ready piece with vibrant, layered motifs
Tips for Success
- Test glaze mixtures on scrap material to check transparency and color strength
- Build up color with multiple thin layers for depth and clarity
- Keep a damp cloth nearby to lift unwanted paint while wet
- Use a mahl stick or ruler as a hand rest for steady detail work
- Photograph your work at each stage to track progress and spot imbalances
Common Issues & Solutions
- Streaky glaze: Let dry, then apply another thin, even layer
- Glaze too dark or opaque: Dilute further and layer gradually
- Wobbly edges: Wait for paint to dry, then correct with a fine brush and background color
- Pencil lines visible: Use a kneaded eraser before painting or gently erase after paint dries
- Paint bleeding under tape: Press tape edges firmly and remove tape slowly at a low angle after drying
Safety Guidelines
- Use only non-toxic, water-based paints and finishes
- Work in a well-ventilated area, especially when using spray fixatives
- Wash hands after painting and before eating
- Keep painting materials away from food and drinks
- Dispose of rinse water and waste responsibly; avoid pouring paint water down household drains
Finishing, Display, and Care
- Let the sealed piece cure fully before handling or framing (usually 24 hours)
- Frame under glass for protection or display on a small easel in a dry, shaded area
- Dust gently with a soft, dry cloth; avoid moisture and cleaning sprays
- For gifting or portfolios, add a backing board and protective sleeve
Cleanup & Storage
- Clean brushes with water and mild soap immediately after use; reshape and dry flat
- Wipe palettes and surfaces with a damp cloth; dispose of paint water safely
- Store leftover paint in sealed containers, out of reach of children and pets
- Store finished artwork flat or upright in a dry, dust-free area until display
Variations to Explore
- Try different panel shapes, such as rectangles, circles, or ovals
- Add metallic accents or texture mediums for extra interest
- Research and adapt folk motifs from various cultures
- Create a series of border studies for a cohesive display
- Combine border studies with central motifs or text for cards or plaques, maintaining the glazing technique