
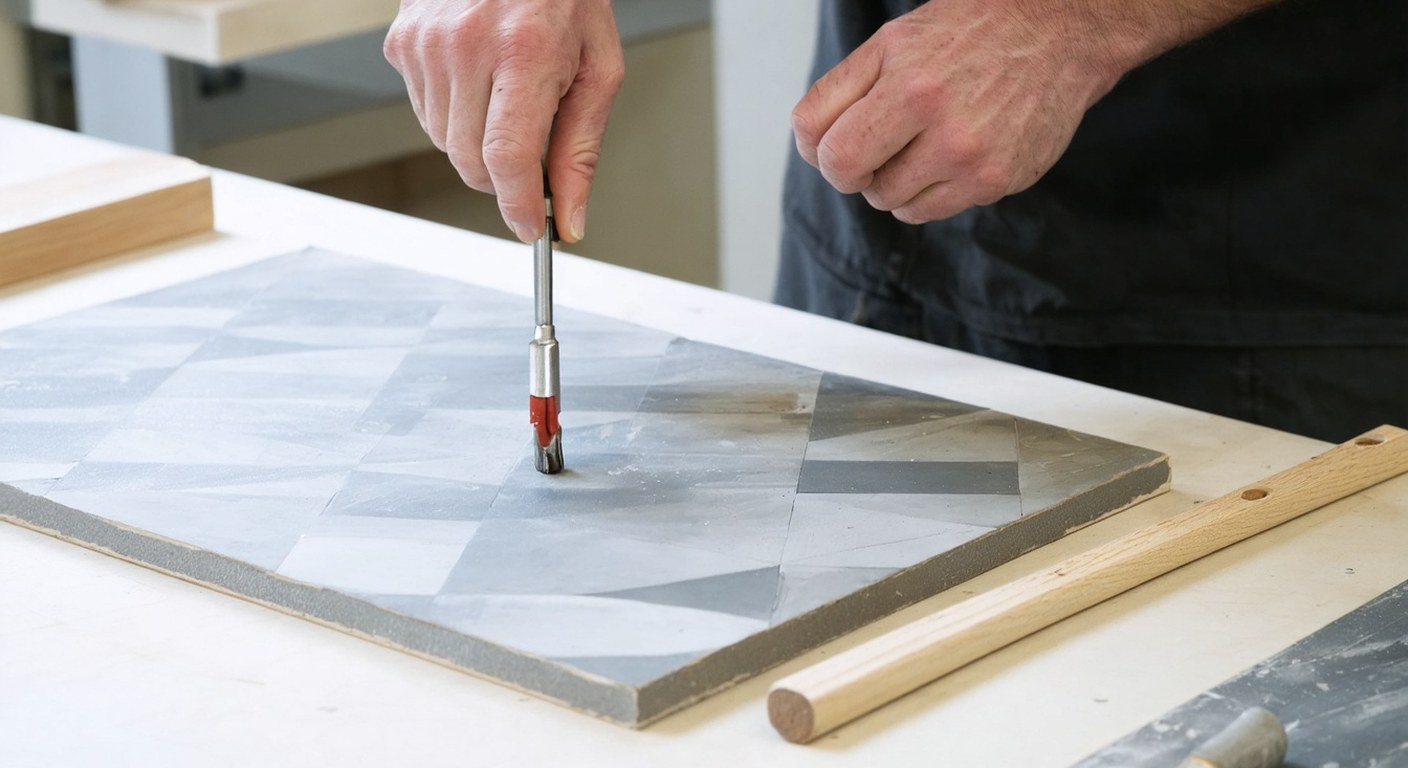
Overview
This project will guide you through creating a hand-painted tile repeat pattern with deliberate colour separation, all in under four hours (excluding drying time). You’ll work on a small, display-ready format that’s perfect for gifting, showcasing in a portfolio, or decorating your space. The focus is on mastering the surface-pattern technique: planning, painting, and refining a repeating motif using a limited palette with one accent colour. The process is designed for motivated beginners and uses safe, accessible materials suitable for a well-prepared home studio environment.
What You Will Learn
- How to plan and proportion a tile repeat for seamless patterning
- Techniques for effective colour separation in hand-painted designs
- Control and refinement of brushwork for surface-pattern applications
- How to recognize a finished, polished surface ready for display
- Preparation and finishing methods for a professional, display-ready object
Design Plan
You will create a hand-painted tile repeat on a small, flat surface (such as a 15 × 15 cm / 6 × 6 in ceramic tile or primed artboard). The pattern will be geometric or organic, but must repeat seamlessly at the edges. You’ll use a limited palette: two main colours (e.g., blue and white) and one accent colour (e.g., gold or orange). Colour separation will be achieved by painting each colour area distinctly, allowing for crisp, clean transitions and visual clarity. The finished piece will be sealed for durability and ready to display upright or flat.
Materials & Safe Alternatives
- Primary Surface: One smooth ceramic tile (15 × 15 cm / 6 × 6 in), or primed MDF/artboard of similar size
- Marking Tools: Soft graphite pencil (HB), non-permanent fine liner (optional)
- Measuring Tools: Metal or plastic ruler (minimum 20 cm / 8 in), right-angle triangle or T-square
- Paints: Acrylic paint (water-based, non-toxic), in two main colours and one accent colour
- Brushes: Fine round brush (size 1–2), medium flat brush (size 4–6)
- Mixing Palette: Ceramic plate or plastic palette
- Water Cup & Rag: For cleaning brushes
- Protective Surface: Plastic sheet, craft mat, or thick newspaper
- Sealer: Water-based acrylic varnish (matte or gloss, as preferred)
- Optional: Masking tape for clean edges, gloves for sensitive skin
Safe Alternatives: If ceramic tiles are unavailable, use primed artboard or heavyweight watercolour paper. For those sensitive to acrylics, choose watercolour or gouache, but note that these will require a fixative spray as a sealer.
Time, Difficulty & Setup
- Estimated Active Time: 2–4 hours (plus drying/curing time for paint and sealer)
- Skill Level: Motivated beginner
- Setup: Clear a well-lit table, cover with protective surface, and arrange all materials within easy reach. Ensure good ventilation if using varnish.
- Budget Range: $20–$60 (using safe, accessible materials)
Visual Roadmap
- Prepared Materials: All tools and materials set out on a protected work surface, tile or board clean and ready.
- Initial Layout or Form: The repeat grid and motif sketched in pencil, showing the planned colour separation.
- Main Technique in Progress: Painting the first colour areas, with a brush applying paint cleanly to the surface.
- Refined Edges and Details: All colour areas filled, accent colour applied, edges and overlaps cleaned for crisp separation.
- Finished and Displayed Piece: The sealed, dry tile repeat displayed upright or flat, with clear, vibrant colours and a polished finish.
Step-by-Step
- Prepare your workspace. Cover your table with a plastic sheet or craft mat. Place all materials within arm’s reach, and ensure your tile or board is clean and dry.
- Measure and mark the repeat grid. With ruler and pencil, lightly mark a 15 × 15 cm (6 × 6 in) square if your surface is larger. Divide the square into a 3 × 3 grid (each cell 5 × 5 cm / 2 × 2 in) to help plan your repeating motif.
- Sketch your motif. Lightly draw your chosen pattern, ensuring that any lines or shapes that touch one edge continue seamlessly onto the opposite edge. Use the grid to guide repeat alignment.
- Plan colour separation. Decide which areas will be each main colour and where the accent colour will be placed. Outline these areas lightly in pencil or with a non-permanent fine liner.
- Mask edges (optional). If you want perfectly clean borders, apply masking tape along the tile or board edges before painting.
- Mix your paints. Squeeze out small amounts of each colour onto your palette. Mix to desired hue and test on scrap paper or the back of your tile.
- Paint the first main colour. Using a medium flat brush, fill in all areas designated for your first main colour. Work carefully up to the pencil lines, keeping edges as clean as possible.
- Allow to dry. Let the first colour dry to the touch (typically 15–30 minutes for acrylics, longer for thicker applications).
- Paint the second main colour. Rinse your brush, then paint the next set of areas with your second main colour. Use a fine round brush for smaller shapes or details.
- Let dry again. Wait for the second colour to dry fully before continuing.
- Add accent colour. With a clean fine brush, carefully apply your accent colour to the designated areas. This could be small dots, lines, or a background shape, depending on your design.
- Refine edges and clean up. Touch up any overlaps or wobbly edges with a clean brush and the appropriate colour. Remove masking tape if used, pulling away at a sharp angle for a clean line.
- Erase visible pencil lines. Once the paint is fully dry, gently erase any remaining pencil marks with a soft eraser.
- Seal the piece. When all paint is dry (at least 1 hour for acrylics), brush on a thin, even coat of water-based varnish. Allow to dry completely (usually 30–60 minutes).
- Prepare for display. Mount your tile on a small easel, frame it, or attach felt pads to the back for flat display. If using artboard or paper, consider matting or framing under glass.
Visual Checkpoints
- After Step 2: A clean, gridded tile or board with faint pencil lines, ready for design layout.
- After Step 4: The motif is clearly sketched, with distinct areas marked for each colour.
- After Step 7: The first colour is applied smoothly, with clean edges and no visible pencil smudges.
- After Step 11: All colour areas are filled, and the accent colour pops against the main palette; edges are crisp and the pattern repeats seamlessly at the borders.
- After Step 14: The finished piece has a subtle sheen (if varnished), vibrant colours, and no visible pencil or stray marks; it is ready to display.
Pro Tips
- Practice your motif on scrap paper first to ensure the repeat aligns perfectly.
- For sharper colour separation, use a slightly damp fine brush to “cut in” along edges.
- If colours bleed, let them dry fully and then correct with a steady hand and the original colour.
- Use a limited palette for visual unity; the accent colour should be used sparingly for maximum impact.
- Keep brushes clean between colours to avoid muddying your palette.
Common Mistakes & Fixes
- Paint bleeds under tape: Remove tape while paint is still slightly damp, or touch up with a fine brush once dry.
- Uneven colour coverage: Apply a second thin coat once the first is dry for solid, even colour.
- Misaligned repeat: Use your grid and check that motif elements crossing the edge match up on the opposite edge; adjust before painting.
- Pencil lines won’t erase: Use minimal pressure when sketching; if lines remain, carefully paint over with the background colour.
- Varnish appears cloudy: Apply thin coats and allow each to dry fully; avoid over-brushing.
Safety Notes
- Use only water-based, non-toxic paints and varnishes in a well-ventilated area.
- Wear gloves if you have sensitive skin or allergies to acrylic paint.
- Keep all materials out of reach of children and pets during and after the session.
- Clean up spills immediately to prevent slipping or staining surfaces.
Finishing, Display & Care
- Allow the finished piece to cure for at least 24 hours before handling extensively or framing under glass.
- Display tiles upright on a small easel, or flat with felt pads to protect surfaces.
- If framing, ensure the paint and varnish are fully cured to prevent sticking or clouding under glass.
- To clean, gently dust with a dry, soft cloth; avoid abrasive cleaners or soaking in water.
Cleanup & Storage
- Wash brushes and palettes with warm, soapy water immediately after use.
- Dispose of water and paint residue responsibly; do not pour acrylics down the drain in large quantities.
- Store leftover paints sealed and upright in a cool, dry place.
- Keep your finished piece out of direct sunlight to prevent fading.
Next Variations
- Try a multi-tile repeat by painting four tiles and assembling them for a larger pattern.
- Experiment with different geometric or organic motifs to explore new surface-pattern styles.
- Use metallic or pearlescent accent paints for added dimension and visual interest.
- Scale up to a larger format or try the technique on functional objects like trays or coasters.
- Combine hand-painting with simple stencil work for even sharper colour separation.